BrainBot Assembly
Install the Motors
- First, turn over BrainBot chassis and find the gold strips along the edge. Place the gearless side of the motor down on the each strip.
- Plug in motor connectors. They only fit one way.
- Align motor mounts over holes in the BrainBot chassis, and place over each motor.
- Place 1 rivet inside each hole of both motor mounts and press them in.
Add the wheels
- The axles are shaped to match the holes in the tire, push each tire onto the an axle. Make sure not to push to far. We need a small gap of clearance in order for the tire to turn.
- Next, position the front universal wheel over the front holes of the chassis.
- Place 1 rivet inside each hole of the front wheel and press down.
The Battery
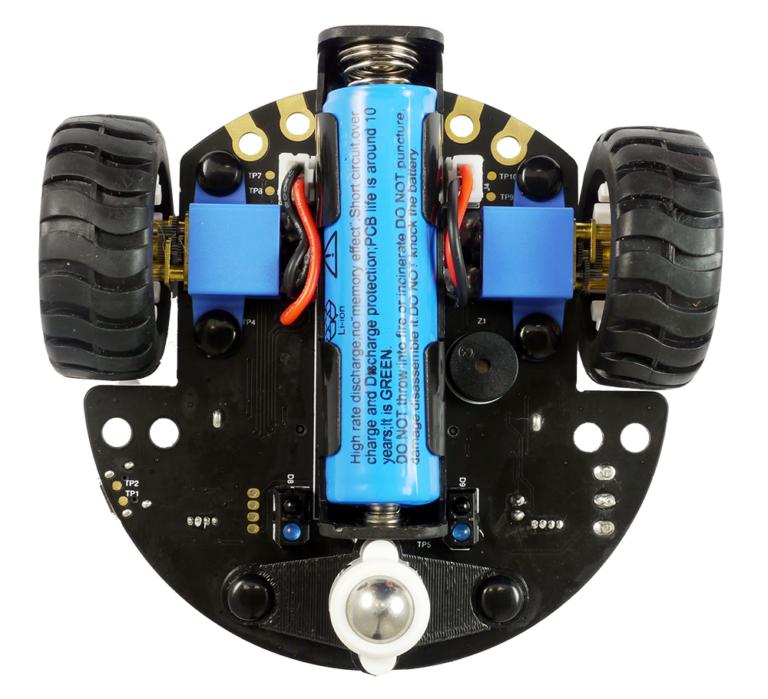
- Next, add the recharge battery into battery holder. Note + positive end goes towards the front. A Li-Po battery is used, so make sure to carefully read the Safety section to fully understand how to properly use them.
Plug in the Microcomputer
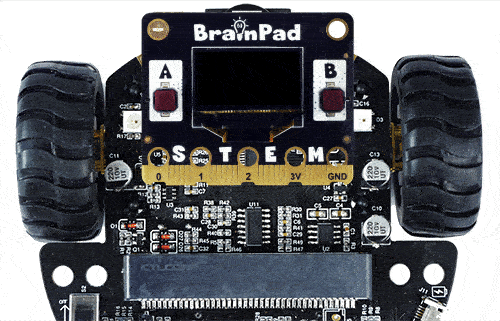
- Finally, insert your BrainPad into the connector. If you’re using the BrainPad Tick, place all the way to the right of the connector.
Assembly Complete!
The robot is now ready for some serious moves!
Charging your BrainBot
Plug a micro-USB into the BrainBot (you can use the one that came with your BrainPad). Ensure that the battery is fully inserted into the battery holder. The Charge LED will illuminate. The battery will be fully charged when the Charge LED turns off. The battery that is included is a Li-Po battery and requires special care. Please read the Safety Page carefully.
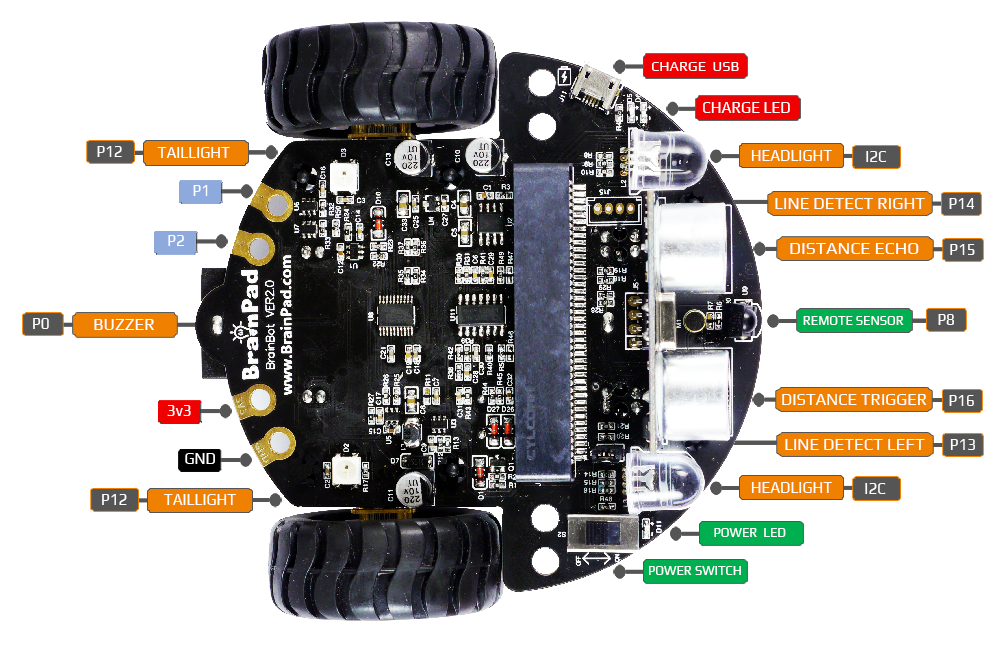
BrainBot Pinout
The BrainBot components connect to the BrainPad through the edge connector. The pinout of the BrainPad is shown on its product page. This section shows the BrainPad pin connections on the BrainBot. This is advanced info at this point as we provide a pre-made driver for you to use the BrainBot with ease.