MakeCode

Microsoft MakeCode is a great place for young students or those with zero coding experience to start is an easy no-install-needed option with blocks, tabs between JavaScript and Python style coding.
BrainPad Pulse

BrainPad Pulse uses and expands Microsoft MakeCode to help educators with the necessary tools to with young learners.
Online Simulator
A try-before-you-buy can happen now with the available MakeCode online simulator. So, what are you waiting for? Give it a go and start coding now!
Start in minutes, hardware optional!
Here are the initial steps to start using BrainPad Pulse - in minutes - and you do not need a BrainPad, yet! We will start with the online simulator.
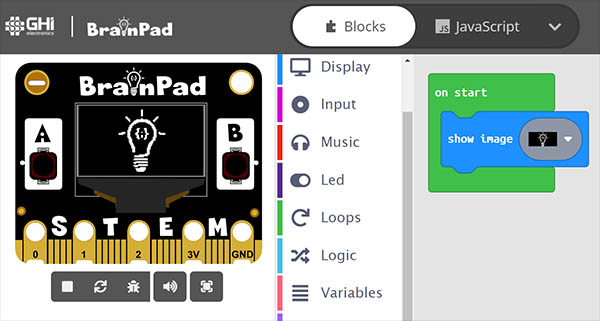
Visit makecode.brainpad.com and click the large + box to start a “New Project”.

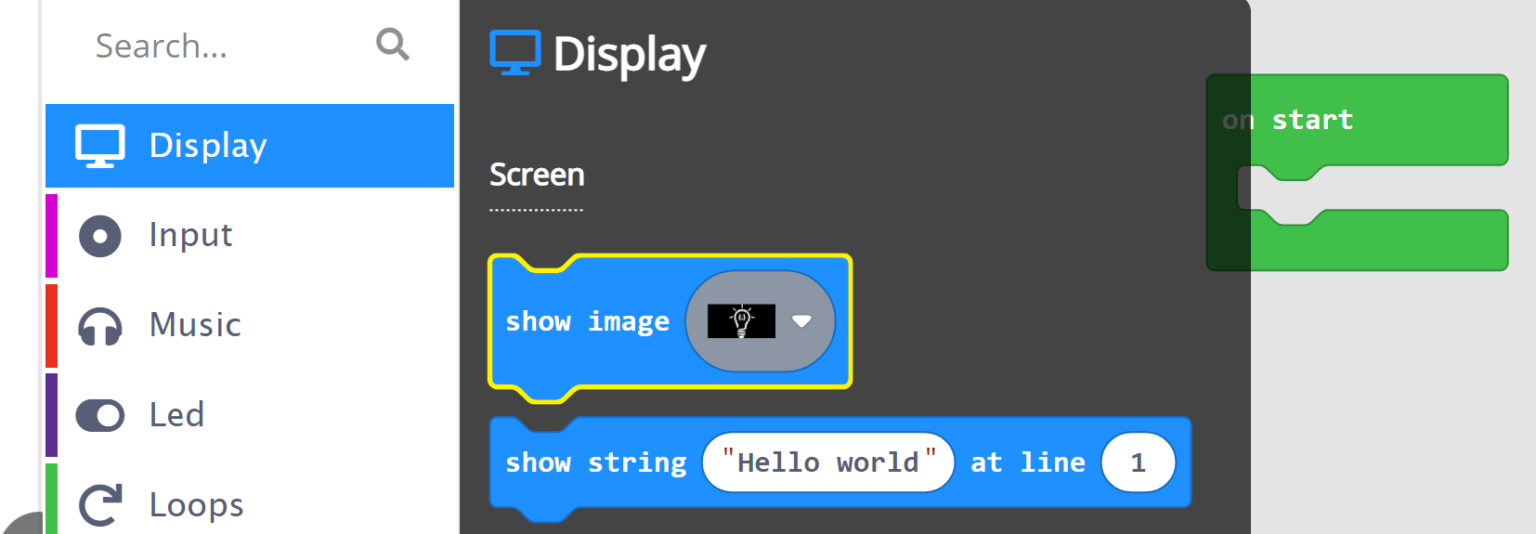
You will be presented with two green blocks, on start and forever. The middle of the screen is the blocks menu options. From Display, drag the show image block into the on start block.
The on start block is what will happen when the program starts!
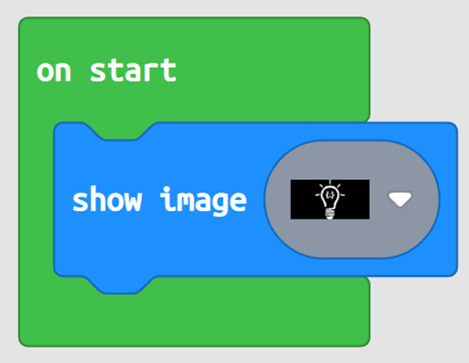
And the simulator is now showing the selected image.
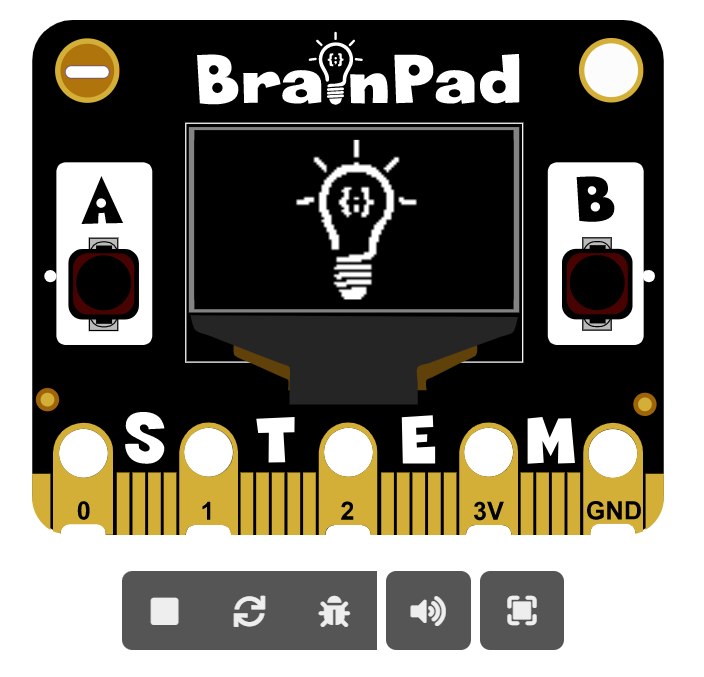
Oh yes, it is that easy!
Learning eBook
The “MakeCode for BrainPad Pulse” eBook guide is a one-stop-shop for learners and curriculum creators.
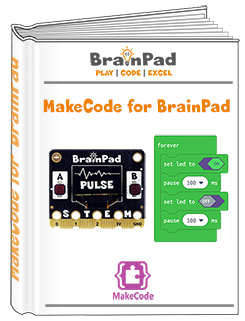
Additionally, the MakeCode interface home page has several step-by-step lessons that learners can use independently.
Using the Hardware
While the simulator does many things, using the hardware is more exciting…and hardware is necessary once you start using accessories.
To load the created program onto the BrainPad Pulse, connect it to a PC using the included micro-USB cable.
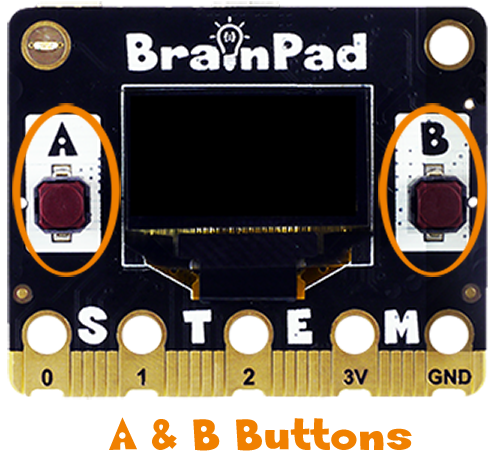
Hold both A and B buttons down for a couple of seconds to instruct the BrainPad Pulse to get ready for accepting MakeCode programs.
The screen should look like this image.
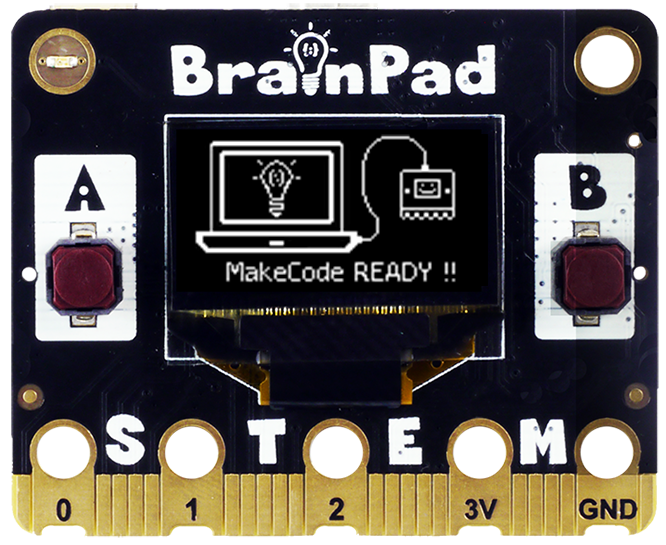
If you still do not see the previous image on the screen (after holding the buttons) then the BrainPad is not prepped for MakeCode. Fear not, the steps are are easy. See the “Prepping for MakeCode” section below.
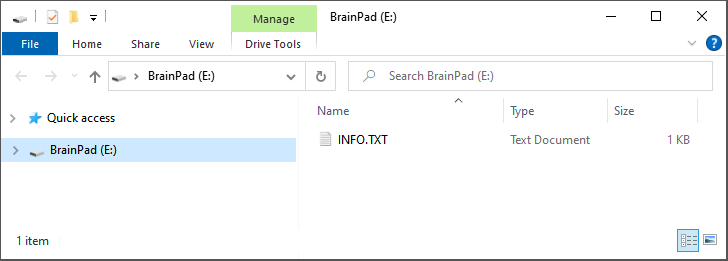
Once BrainPad Pulse is “MakeCode READY” it will present itself to the connected PC as a storage device device called BrainPad with INFO.TXT file. This is just like if you were to plug in a memory stick.
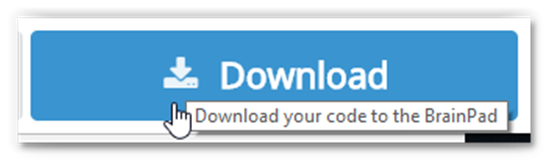
Go back to MakeCode website where you made the program click the download button to save the file on your computer.
We will need to copy the downloaded file onto the virtual BrainPad drive we have just seen.
If you are using Microsoft Edge, you should see a dialog box like the one shown below:

Click the Save button and then the “Open folder” button in the next dialog box to show the downloaded file.

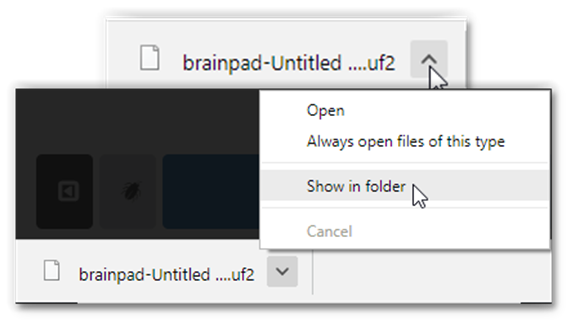
If you are using the Chrome browser, the file will be shown at the lower left corner of the screen. Click on the small up arrow and then select “Show in folder.” The downloaded file will be highlighted.
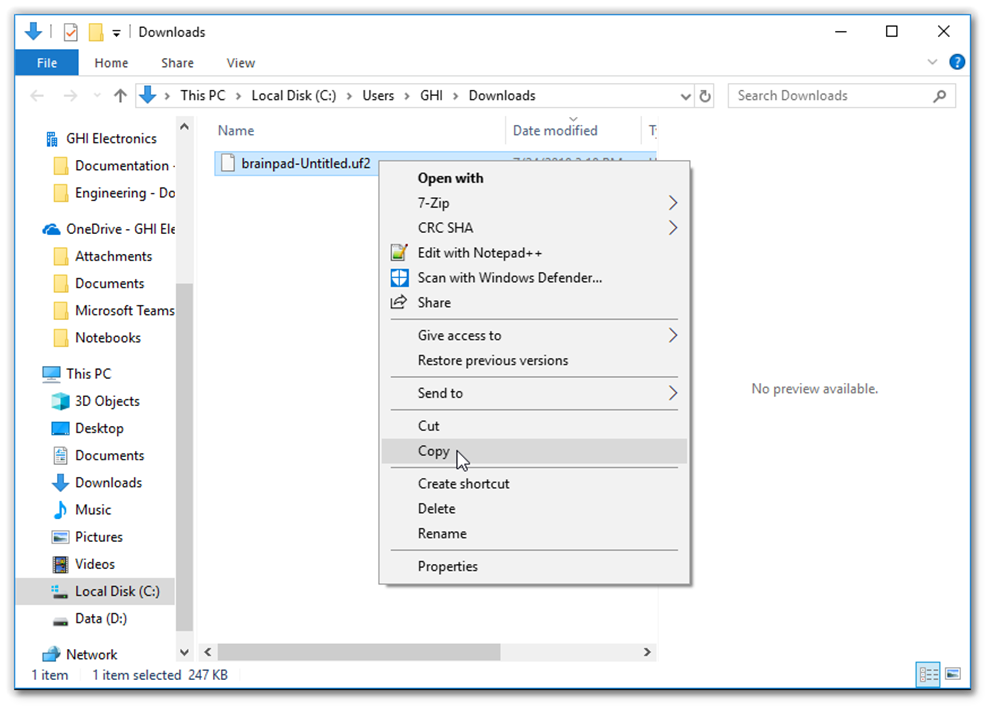
You can right click on the file to copy it.
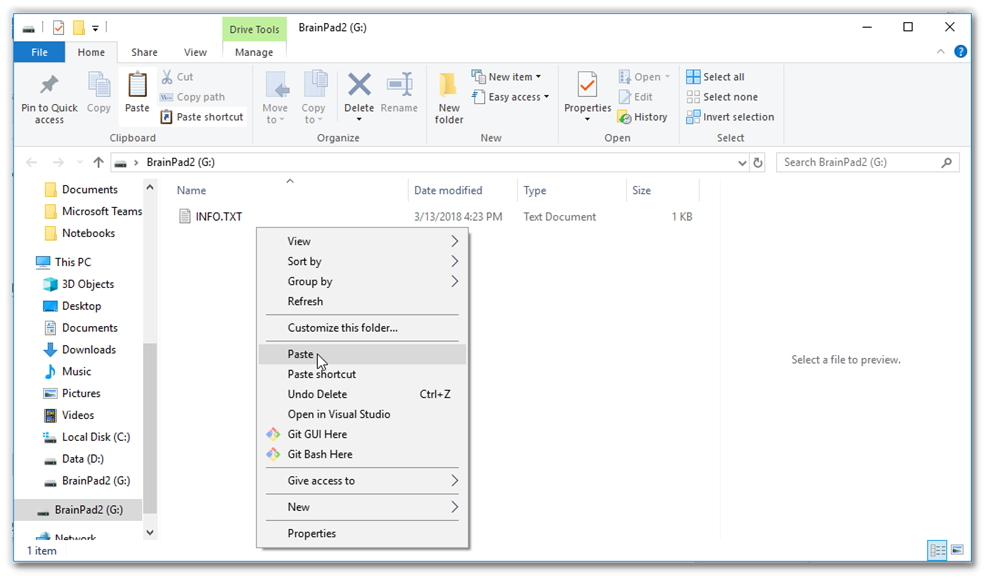
We can now paste the file we have downloaded into the BrainPad Pulse.
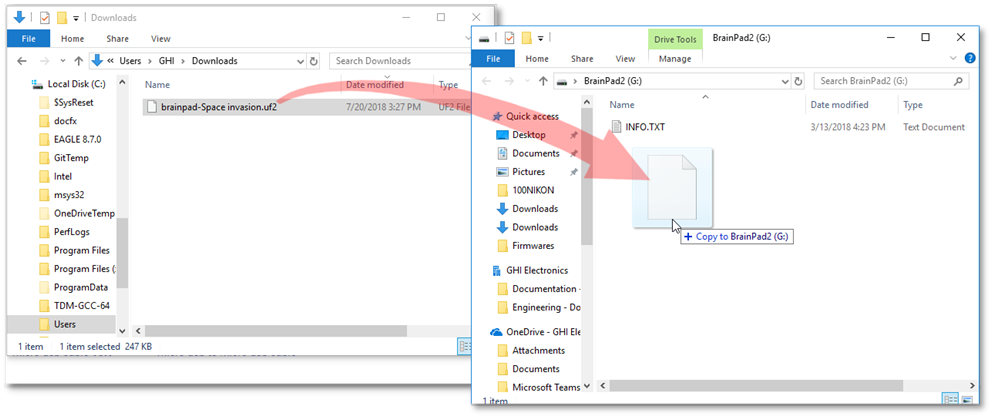
Another options to programming the BrainPad Pulse is by dragging and dropping the downloaded file into the BrainPad window.
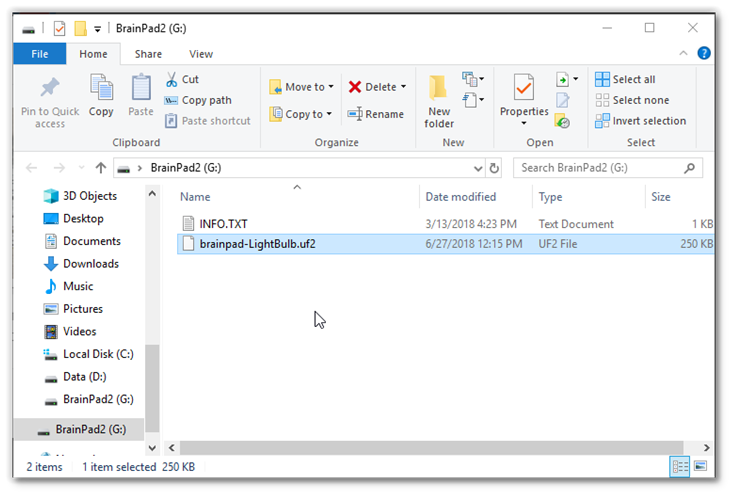
Once the file is done copying to the BrainPad Pulse, it will reset and execute the file you just created in MakeCode.
Congrats! You can now use the eBook to help learners with their STEM coding journey.
Prepping for MakeCode
This is a rarely need step but if pressing A and B buttons for 3 seconds does not show “MakeCode READY” on the screen then this step can help.
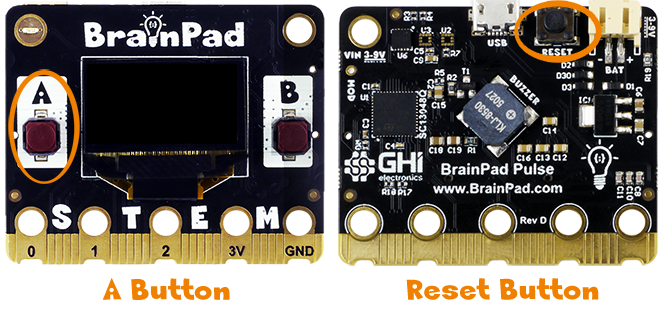
Go to https://loader.brainpad.com/ and follow the steps on that page. If unsure where the buttons are, the image below clarifies the locations.
After loading the firmware successfully, the BrainPad Pulse will display the following screen.
You are now ready to load MakeCode applications downloaded from makecode.brainpad.com