
Project Overview
Servo Motor Control with Computer Vision and Machine Learning
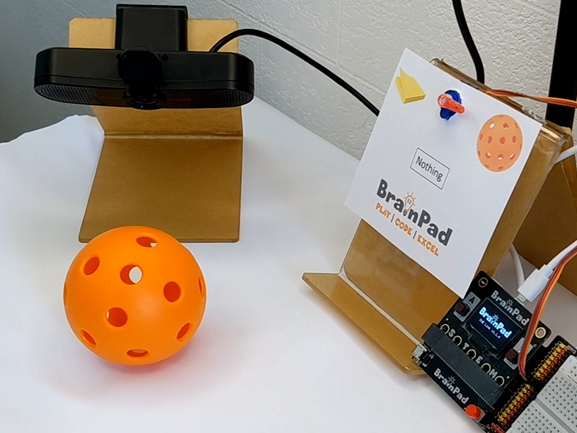
Venture on a fascinating exploration of computer vision and machine learning as you control a Servo motor using our BrainPad Pulse and the BrainTronics kit. This project leverages Python to analyze camera frames, recognize objects using a pre-trained model, and dynamically adjust the Servo motor based on the detected objects.
How It Works
The project captures live video feed from a camera, processes the frames using a pre-trained model to recognize objects, and adjusts the Servo motor position based on the identified objects. The system responds to the confidence scores of object recognition, enabling precise control of the Servo motor.
Hardware Requirements
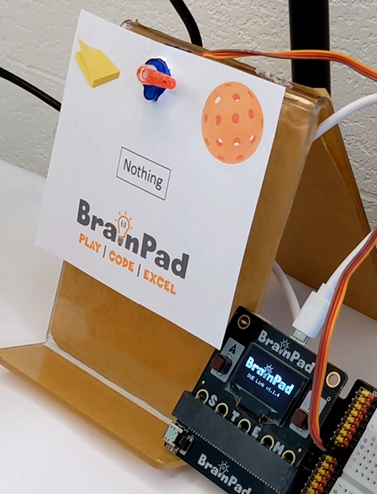
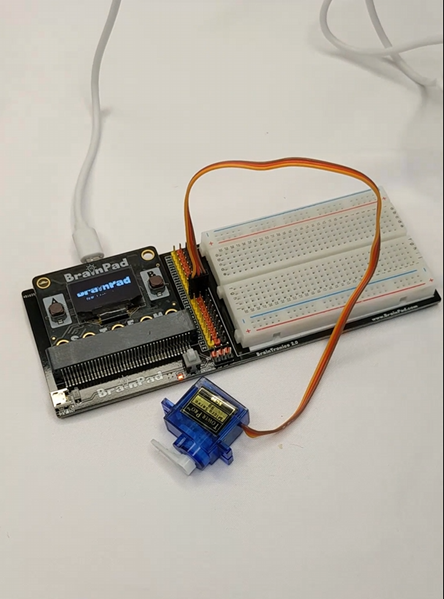
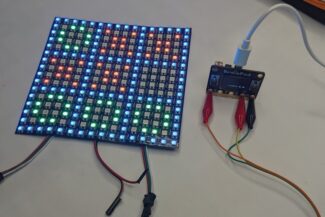
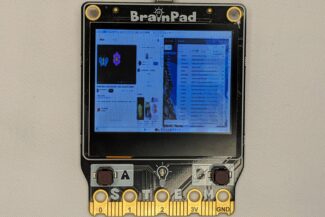
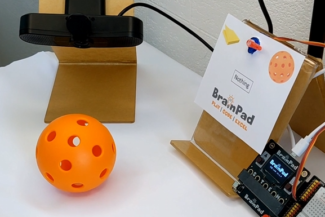
To build this project, you will need a BrainPad Pulse, a Servo motor, and the breadboard from the BrainTronics kit, as well as a camera (laptop camera or USB camera).
Software Requirements
Ensure you have Python 3.10 installed on your computer. Additionally, install the required libraries using the following commands:
pip install DUELink

pip install opencv-python

pip install tensorflow
Code Overview
Let us break down the Python code into smaller steps and provide a comprehensive explanation for each part:
from keras.models import load_model  # TensorFlow is required for Keras to work
import cv2  # Install opencv-python
import numpy as np
from DUELink.DUELinkController import DUELinkController

availablePort = DUELinkController.GetConnectionPort()
BrainPad = DUELinkController(availablePort)

# Disable scientific notation for clarity
np.set_printoptions(suppress=True)

# Load the model
model = load_model("keras_Model.h5", compile=False)

# Load the labels
class_names = open("labels.txt", "r").readlines()

# CAMERA can be 0 or 1 based on default camera of your computer
camera = cv2.VideoCapture(0)

while True:
    # Grab the webcamera's image.
    ret, image = camera.read()

    # Resize the raw image into (224-height,224-width) pixels
    image = cv2.resize(image, (224, 224))

    # Show the image in a window
    cv2.imshow("Webcam Image", image)

    # Make the image a numpy array and reshape it to the models input shape.
    image = np.asarray(image, dtype=np.float32).reshape(1, 224, 224, 3)

    # Normalize the image array
    image = (image / 127.5) - 1

    # Predicts the model
    prediction = model.predict(image)
    index = np.argmax(prediction)
    class_name = class_names[index]
    confidence_score = prediction[0][index]

    # Servo controller
    if index == 0 and confidence_score >=0.98 :
        BrainPad.Servo.Set(10,0)
    elif index == 1 and confidence_score >=0.98:
        BrainPad.Servo.Set(10,180)
    else:
        BrainPad.Servo.Set(10,90)

    # Print prediction and confidence score
    print("Class:", class_name[2:], end="")
    print("Confidence Score:", str(np.round(confidence_score * 100))[:-2], "%")

    # Listen to the keyboard for presses.
    keyboard_input = cv2.waitKey(1)

    # 27 is the ASCII for the esc key on your keyboard.
    if keyboard_input == 27:
        break

camera.release()
cv2.destroyAllWindows()
Customization:
- Object Replacement:
Try replacing the model to recognize new objects. Train the model with new objects and observe how the Servo motor responds to the new values.
- Upgrade to LED Ring (NeoPixel) from BrainClip:
Challenge yourself by adapting the project for any output module from BrainTronics (Buzzer, RGB LED, etc.). The code will be compatible with any analog output module and explore how the project behavior changes with different hardware but in the same software.


Start the discussion at GHI Electronics forums