Analog vs Digital
In this lesson, students will learn about digital and analog values and differences.
Setup
You will need any computer with a modern internet connection. Windows, Mac, and even Chromebook will work!
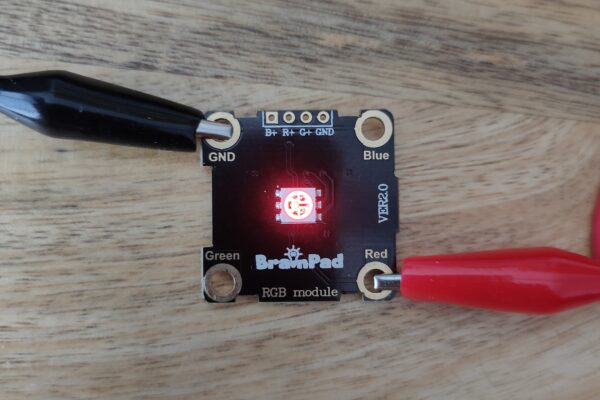
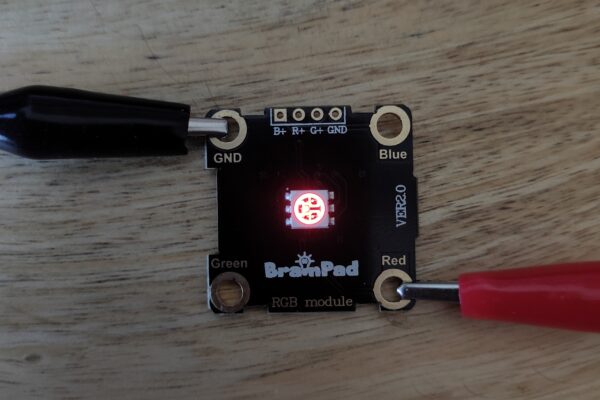
And you will need an RGB LED and alligator clips with BrainPad Arcade.
Prerequisite: And you need to finish the previous Edge Pads project.
Analog vs Digital PINs
In the previous project, we connected an RGB LED and controlled it using the digital write pin command, and we noticed there were only two values: HIGH and LOW. In this project, we will learn more about analog write and the differences between analog and digital.
After opening a new project, go to Pins and drag analog write pin and you will notice that we have many values this time instead of HIGH and LOW.
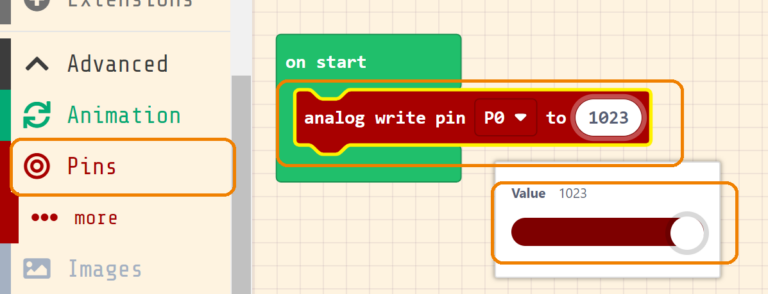
This value sets the power level on the pin, which means it sets the RGB LED brightness in this situation. The value range from 1023 as max and 0 as min.
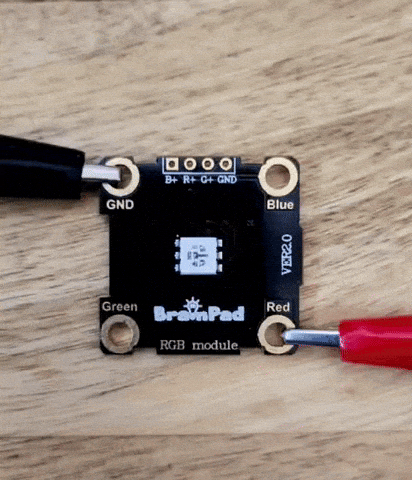
To try different brightness levels, let’s try to make it 50%, half of 1023.
And here it is at 10%.
To understand the analog values more, you can use a Loop and a variable, so you will set the starting value to 0, and increase it by 1 inside the loop.
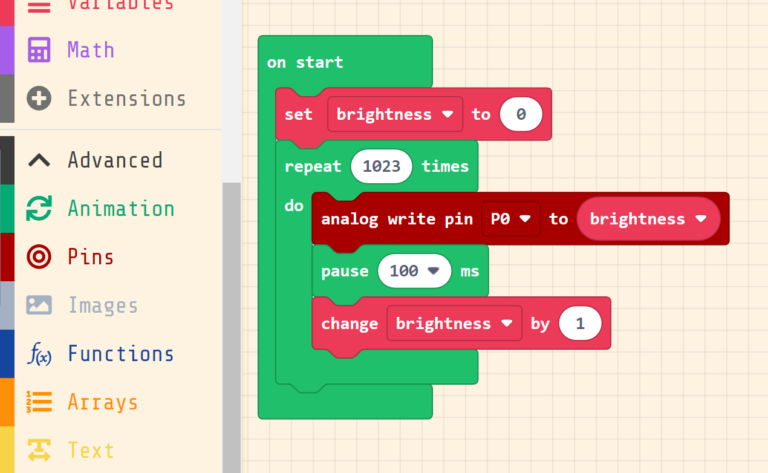
You will notice how the LED brightness will increase one by one.
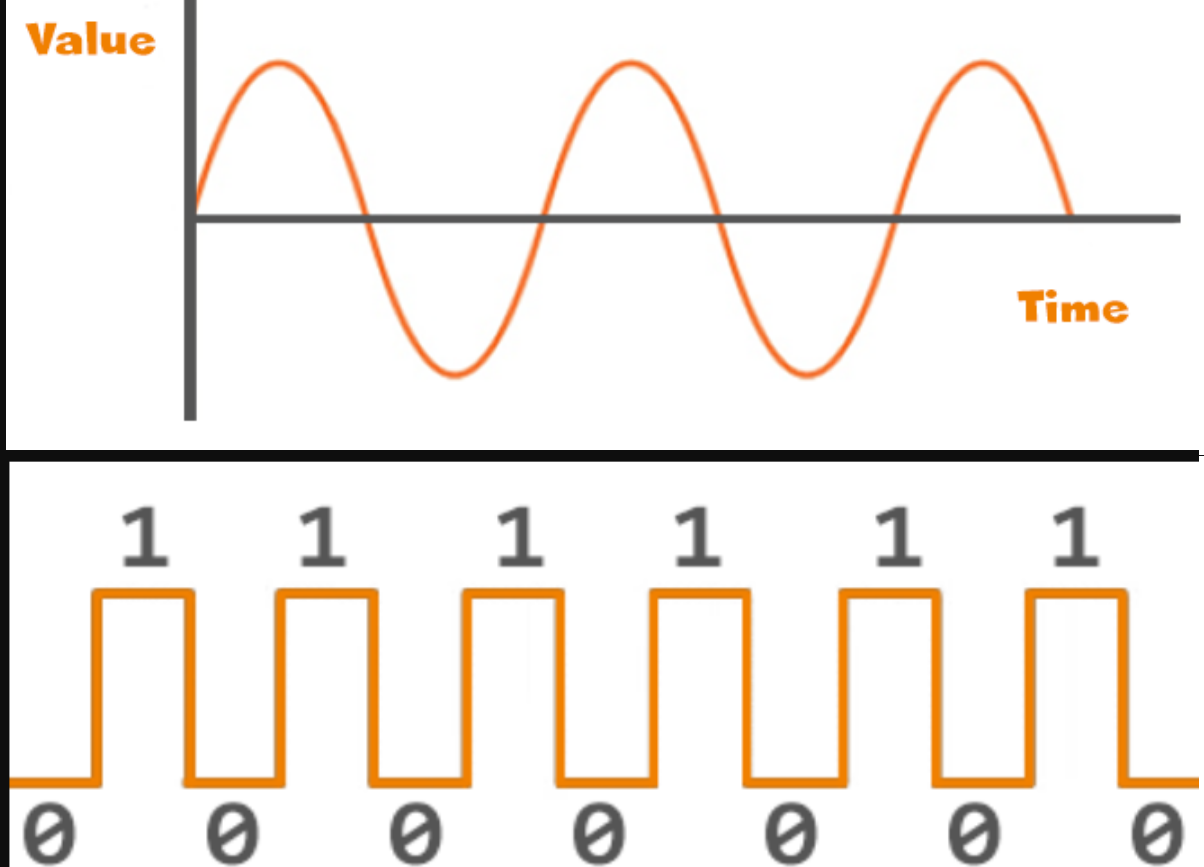
Analog and digital are methods of representing a value. Analog signals are continuous and vary smoothly over time, much like a wave. Think of it like a line graph where the values can change at any point along the line.
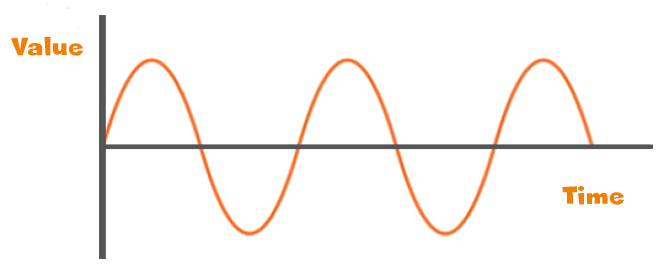
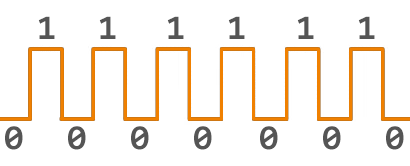
Digital signals, however, are discrete and represented using a series of binary digits (0s and 1s). It's like using a set of switches that are either on or off to represent information.