LED Ring
In this lesson, students will learn about ring light and how to program it using BrainPad Arcade.

Target Audience
Anyone 13+ will benefit from this series. Younger audiences can still follow along when paired with an adult. An example can be a pops/grandchild STEM weekend event!
Setup
You will need any computer with a modern internet connection. Windows, Mac, and even Chromebook will work!
And you will need a Ring LED and alligator clips with BrainPad Arcade.
Prerequisite: You need to finish the Edge Pads project.
Smart LED Extension
In the previous projects, we used the edge-connector extension. We now we need another extension.
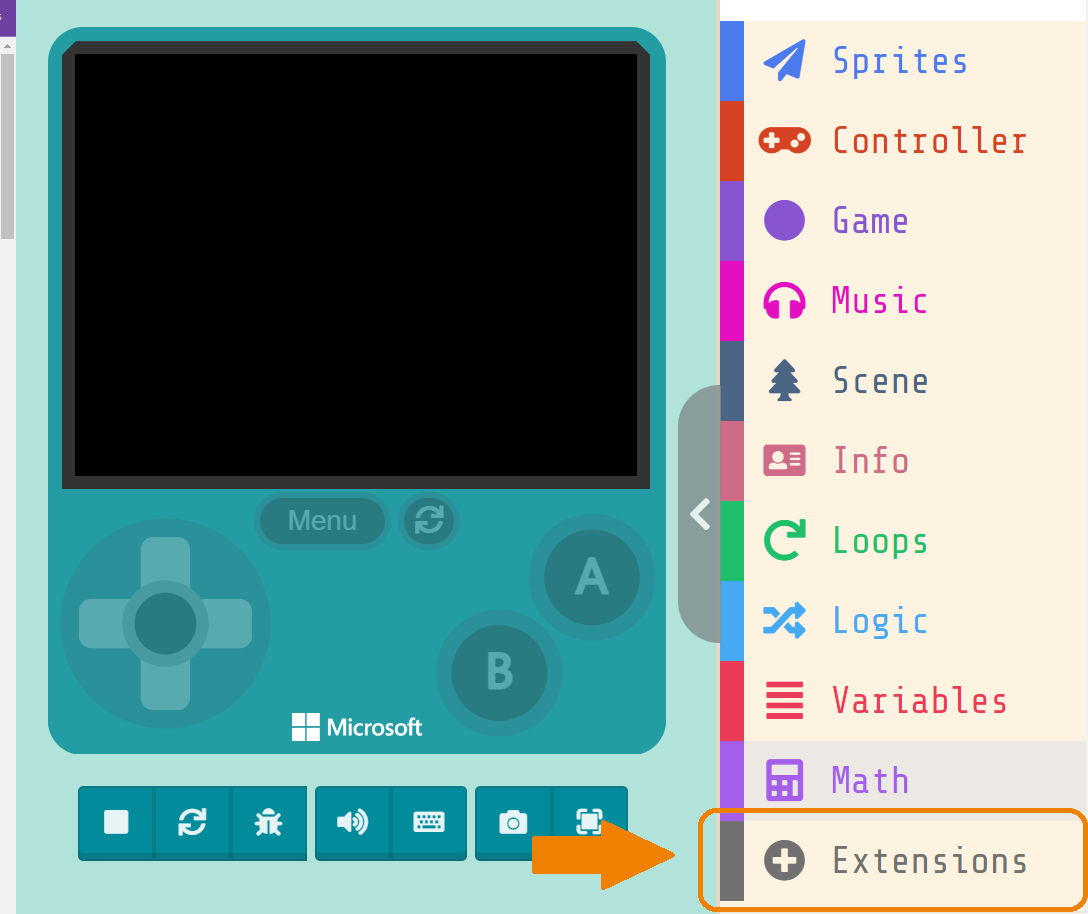
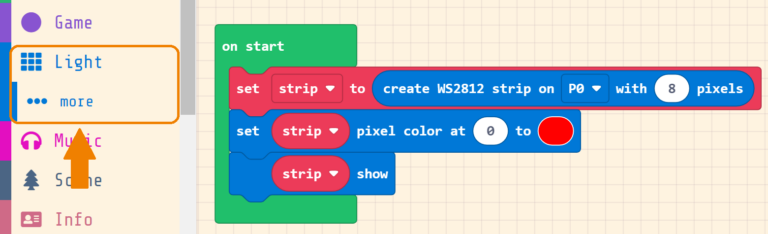
Now, add the light extension.
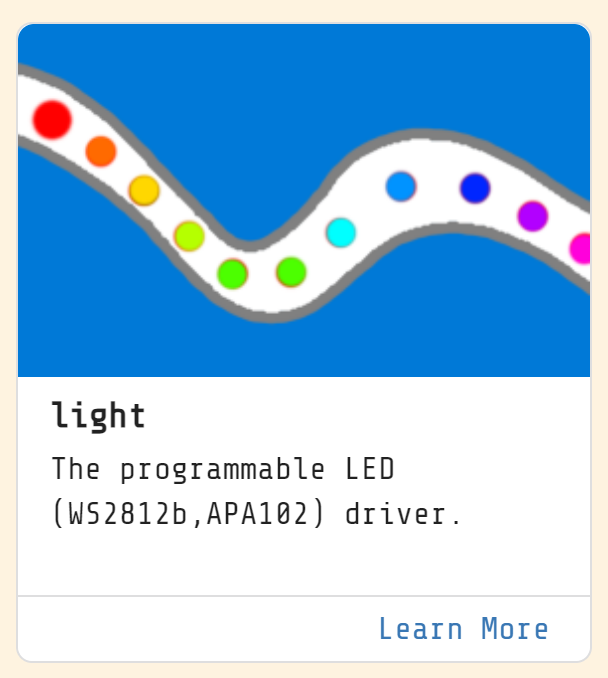
This extension supports two types of smart LEDs.

WS2812 is the one we are going to use. You have 8 LEDs in the ring, to control it, each one has a number and you can set a color for each LED using its number.

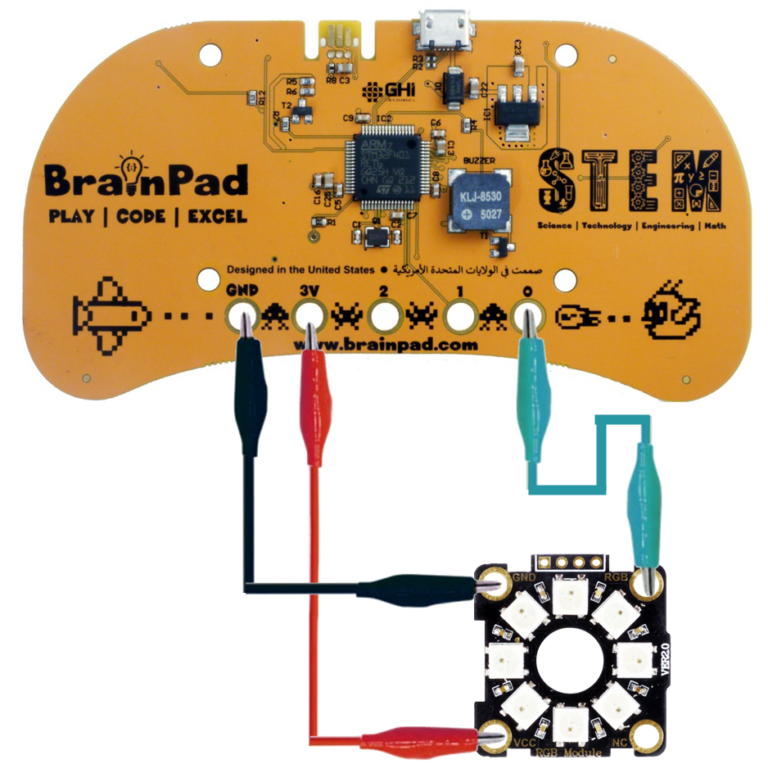
Connect the LED Ring
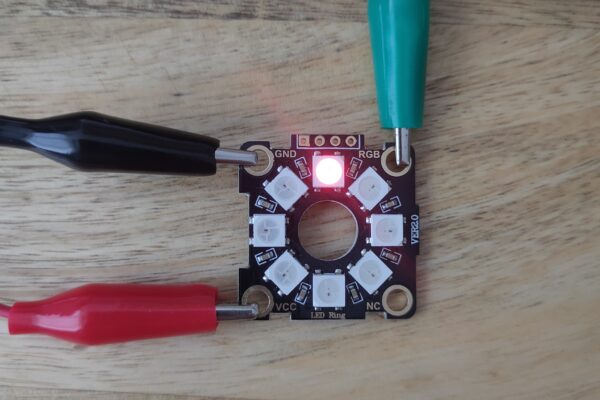
All 8 LEDs are controlled using a single digital signal. You also need 2 wires for power. Connect “GND” from the LED ring to “GND” on the Arcade, “RGB” from the ring led to the pin you want to use to control the ring, “VCC” from the LED ring to “3V” on the Arcade.
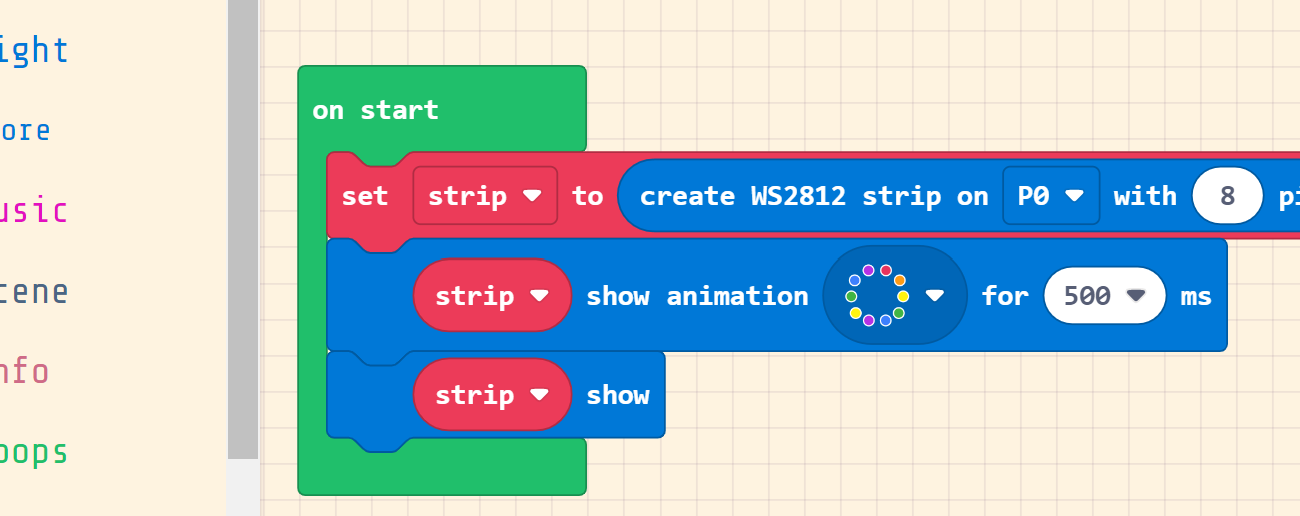
Configure the LED with PIN0 and count of 8. Then add blocks to set the first LED to red. The final block show is used to send the new configuration to the LED Ring.
Load the code on the Arcade and observe the LED.
You can use the ready-to-use blocks that show some cool animations on the LED Ring.