JavaScript is one of the core technologies used by the World Wide Web. 98% of all websites use JavaScript.
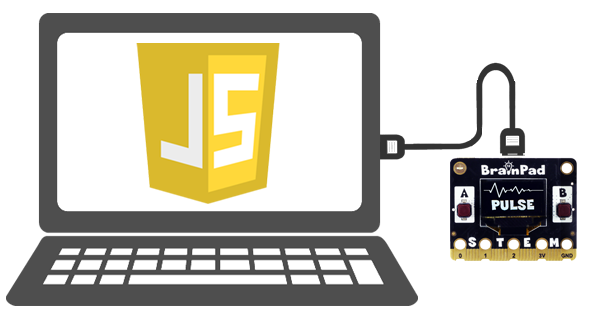
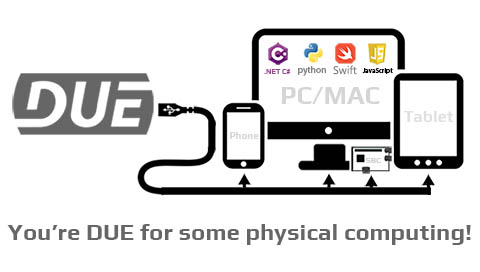
DUE integrates beautifully with JS, allowing web developers access to hardware devices.
DUE Link Pre-setup
To prep you BrainPad to work with JavaScript, it needs to be loaded with DUE Link software.
DUE Link allows devices to be connected to a PC that is programmed is any programming language, including JS. To prep you BrainPad to work with Python, it needs to be loaded with DUE Link software.
Visit the DUE Link Console and click firmware option in the top menu.

Note that you do not need to use the console. You are only using it for the firmware update feature. This step is only necessary if the board is not already loaded with the latest DUE Link firmware and only needs to be done once. Come back here to continue with JS.
Web or Desktop
There are two ways to use JavaScript to control the BrainPad. It can be done from a desktop, using Node.js and the SerialPort library. Using an editor, like VS Code, a user can code, debug, and run JavaScript applications on the PC, with full access to the physical world through any of the BrainPad boards.
The second option is to utilize a web browser with WebSerial support (Google Chrome or Microsoft Edge). In this scenario, the JavaScript code will be running within a browser. Developers can create local or cloud hosted pages that can access physical computing through any BrainPad board. A good live examples of this use is the DUE Console and the DUE Demo. Imagine your next innovation with a web-based user interface for an IoT product that is created using BrainPad.
While both cases use JavaScript and use the same library, the access to the serial port is different. We recommend the desktop use for the lessons as it goes hand-in-hand with other languages. Once the functionality is understood and achieved, the application can then be switched to utilize a compatible web browser.
Blink LED
There are many IDEs and tools to help with JavaScript development. We have selected Microsoft Visual Studio Code.
VS Code is ever evolving with large community contributions. Instead of listing detailed instructions here that can change quickly, please visit code.visualstudio.com to download and install. There are hundreds of online videos and tutorials on creating your first project, click here for an example.
The steps are:
- Install VS Code: code.visualstudio.com
- Install Node.js: nodejs.org/en/download
- Open command prompt and enter node -v to verify Node.js installation
- Create a local folder: mkdir jstest
- Enter the folder: cd jstest
- Start VS Code from the same folder: code . (do not forget a space and period. This is not a typo!)
- In VS Code, add a new file test.js to the project and add a single line console.log(“Hello World”)
- Save the file (Control+S)
- Open terminal window in VS Code and enter node test.js to execute the JS program. The program will output Hello World
- At this point, the desktop is setup to run Node.js code
VS Code also supports debugging. Add a breakpoint to the single line (F9) and then execute the program through the debugger (F5). And now you can step through code (F10) and observe the output.
This is an example code to count to 10, printing the output to the console. Open the “DEBUG CONSOLE” to see the output. Modify the code and experiment with Node.js and VS Code before continuing.
for (let i = 0; i < 10; i++) {
    console.log("Counting: " + i);
}
We are now ready to bring in the DUELink library, npm install DUELink. The library is not NPM hosted yet and can be downloaded from here https://github.com/ghi-electronics/due-libraries/tree/main/javascript save the duelink.js, util.js and serialusb.js, add to your program’s folder. The library also needs SerialPort https://serialport.io/ download and install npm install serialport.
After installing the SerialPort library using NPM a file called package.json will be created in our local folder. We need to add support for importing modules by adding “type”: “module” to our the file. Click on the file inside the explorer tab of VS Code to edit.
{
  "type": "module",
  "dependencies": {
    "serialport": "^11.0.0"
  }
}
We can now instantiate and get the DUELink controller ready. We will be using SerialUSB() here. If using a web browser, WebSerial() will be used instead.
import {SerialUSB} from './serialusb.js';
import * as due from './duelink.js';

let BrainPad = new due.DUELinkController(new SerialUSB());
await BrainPad.Connect();
And now the DUELink controller library can be used.
// Flash the LED 20 times (on for 200ms and off for 800ms)
await BrainPad.Led.Set(200,800,10);
Asynchronous Code
JavaScript runs code asynchronously. This means the call to a function does not block and let remaining code runs. This is very different from the default state from other languages, like Python and .NET C#. This very useful feature but in some cases it can create problems as things run out of order. This might be fine for a website where an image loads before another image. However, in the case of physical computing, this is not acceptable as things must run in order. The solution is to force JavaScript to run Synchronously! In other words, when we make a call to a function, we do not want JavaScript to do anything else until that function has completed and returned. The commands async and await are used to convert JavaScript behavior from Asynchronous to Synchronous. Every single call to the DUELink library must be proceeded with await.
// Blink LED 10 times
for (let i = 0; i < 10; i++) {
    await BrainPad.Digital.Write(BrainPad.Pin.Led, true);
    await BrainPad.System.Wait(200);
    await BrainPad.Digital.Write(BrainPad.Pin.Led, false);
    await BrainPad.System.Wait(200);
 }
When adding functions, the functions must be decorated with async. Note how even the call to the function itself is called with await. Not doing so, will cause the system to not wait for Blink() to finish.
async function Blink(count)
{
    for (let i = 0; i < count; i++) {
        await BrainPad.Digital.Write(BrainPad.Pin.Led, true);
        await BrainPad.System.Wait(200);
        await BrainPad.Digital.Write(BrainPad.Pin.Led, false);
        await BrainPad.System.Wait(200);
    }
}
// Blink LED 10 times
await Blink(10)
Get Coding!
At this point, your PC, your BrainPad, and you are ready to start venturing into JavaScript coding, especially physical coding things.