BrainClip Intro
This lesson is an intro to circuits and physical computing. The BrainClip kit makes for an easy way for connecting circuits using alligator-clip wires.
Prerequisite
You must have completed some of the coding basic lessons and understand coding concepts like variables and loops. You can use any of the supported languages on the Coding Lessons page.
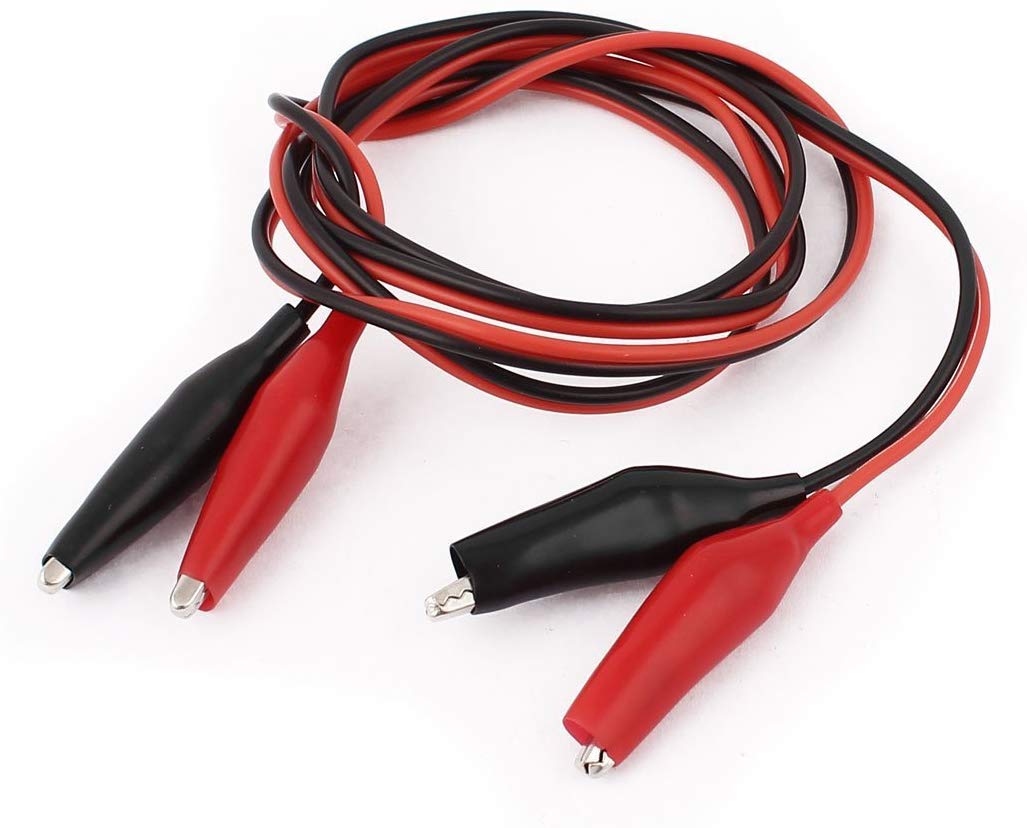
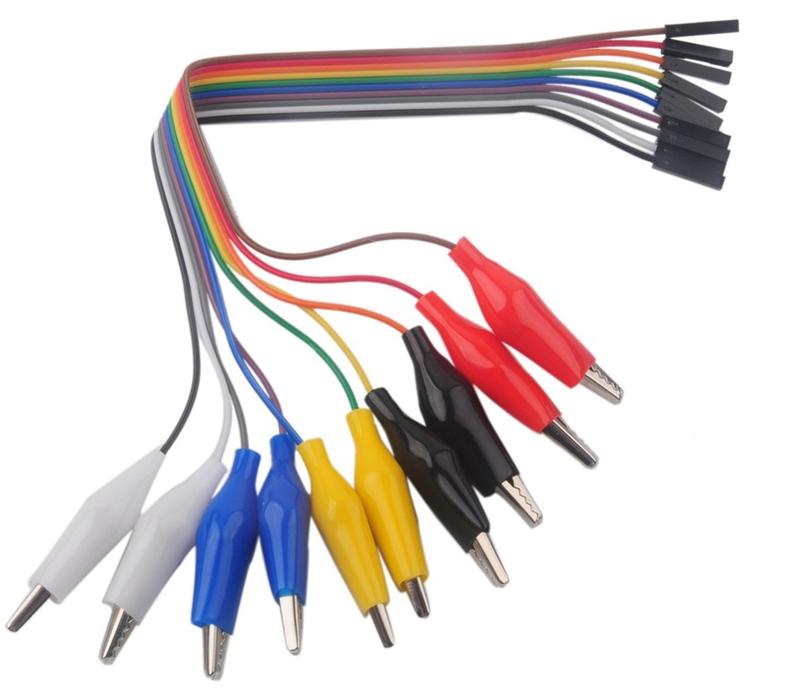
Alligator Clips
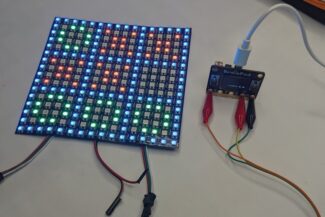
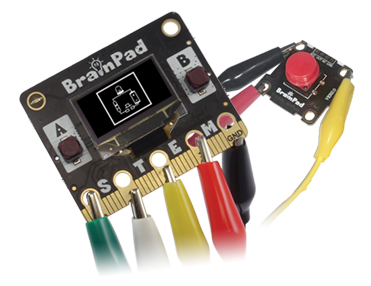
These commonly available wires are used often by anyone working with circuits.
They work nicely with BrainPad Pulse and BrainPad Tick. The clips go on the large holes. There are 3x GPIOs (General Purpose Input Output) and the two power pins (3V/GND), totaling 5 pads. The pads are labeled right on the circuit.
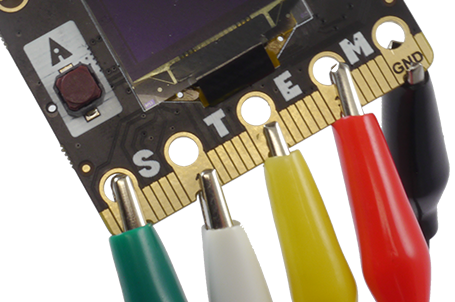
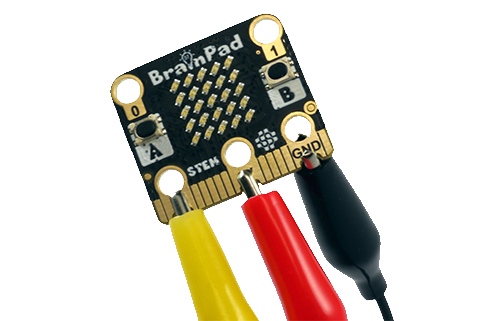
All modules found in the BrainPad kit have similar holes.
IO Expandability
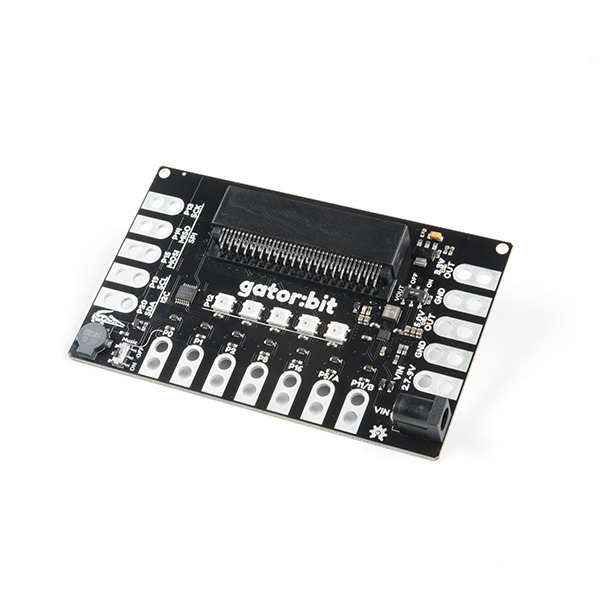
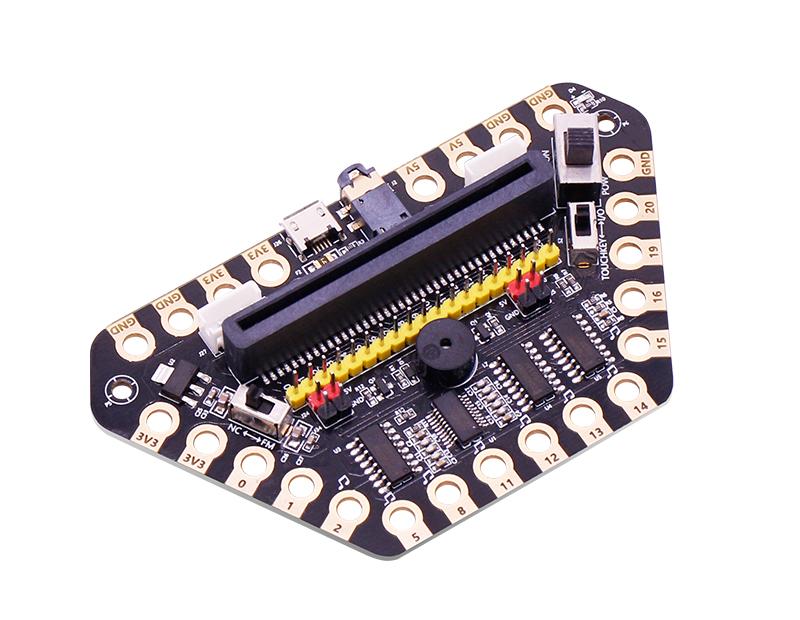
The BrainPad has many available IOs (Input/Output) pins, but only three are found on large pads. The others are available on smaller pads not suitable for alligator clip wires. There are many companies that make boards with an edge connector to bring all of the available connections to large pads suitable for alligator clips.
More Modules
The included modules have many sensors and elements that cover a lot of topics. It is also possible to connect other sensors. There are hundreds of electronics modules found online, like a gas sensor or a relay for example. Those sensors typically have pins for wiring.
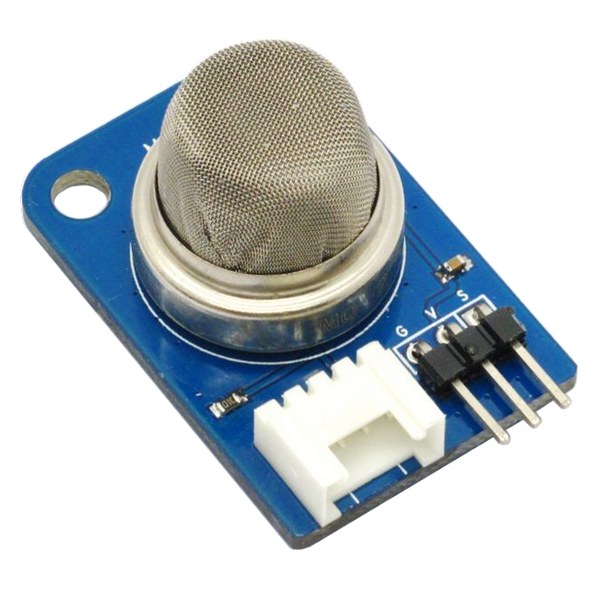
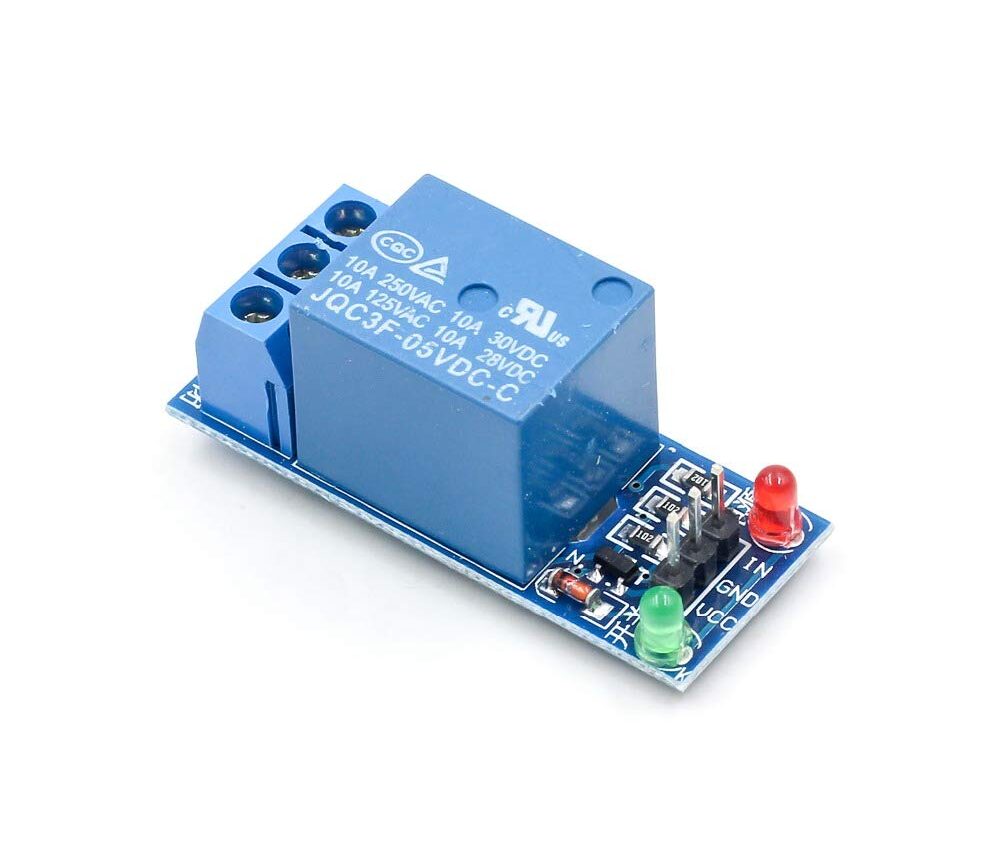
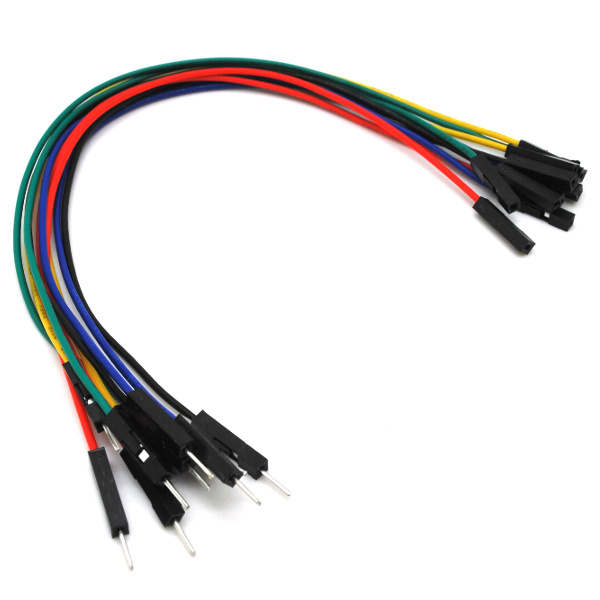
It is difficult to wire clips to those pins. The solution is to use wires and then add the clip to the wires. Or use wires that have a clip on one end and a female header on the other end.
Making Connections
The signals on each module will need to connect to one of the BrainPad pads. These signal pins can be digital or analog and do things specific to the module being used.
There is a ground (GND) pad that also needs to be connected. This signal is the return point to complete the circuit. Think of any battery, there are always 2 connections, the plus and the minus. The minus in the GND signal.
Finally, some modules also have a VCC pad, which is the power source for those modules. Not all modules have this pad. This will connect to a power source, which is the 3V pad on the BrainPad.
Some modules have pads labeled NC, which stands for No Connect. Those pins have no connection internally and are only there for uniformity.
What’s Next?
Start learning about digital pins. Depending on language of choice, see the Coding Lessons page.
BrainStorm
Looking at what circuitry is on modules, we can see that they are very simple with few components found. Take a look at the light sensor, for example. The light sensing element costs very little, but then wiring things to it is not easy. This is where we need to build a whole circuit around the component just to make it accessible.
An option to wire things is in the use of a breadboard, just like the BrainTronics Kit does.