Prerequisite
This lesson assumes you already have your own BrainSense that needs building. If your home is already assembled, you can jump right to the BrainSense Intro lesson for the language of choice, see coding options!.
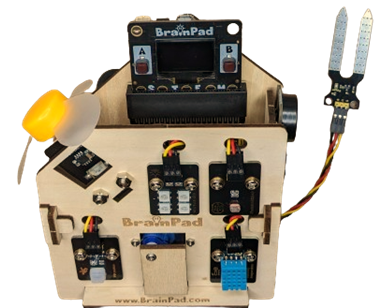
Assembly
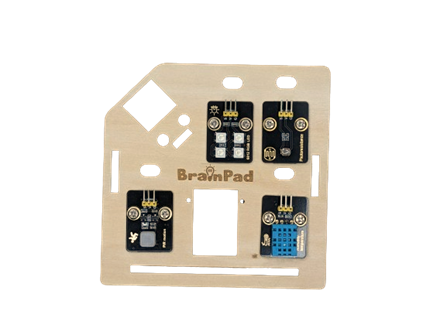
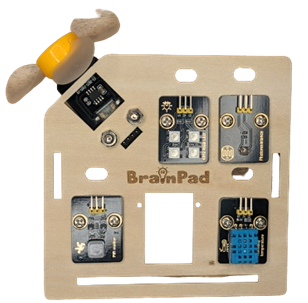
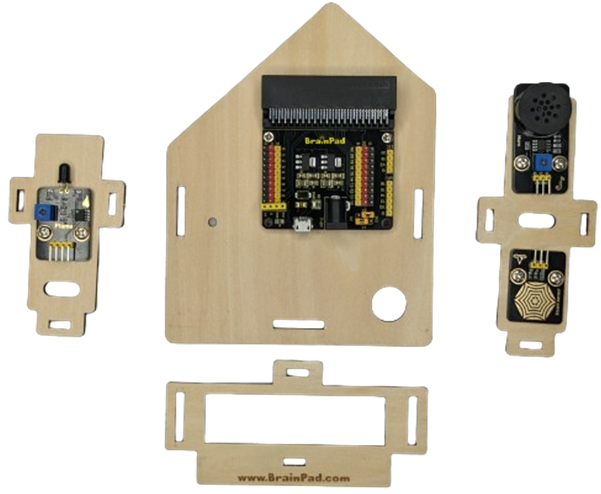
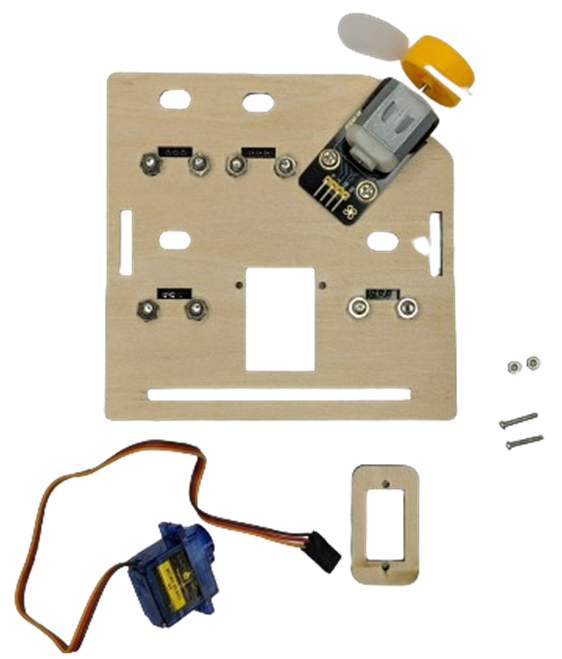
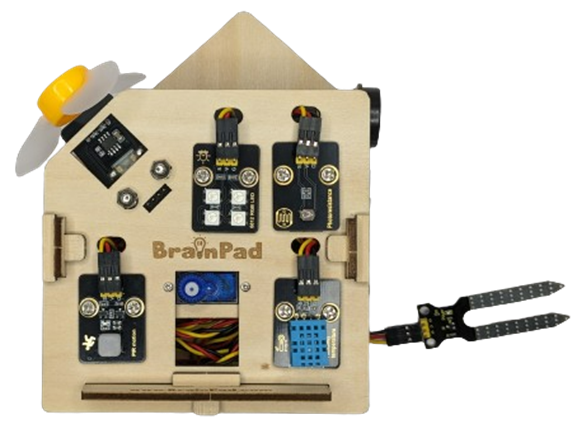
Start with the front side, get the wooden front side and the four sensors:
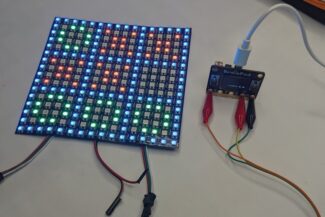
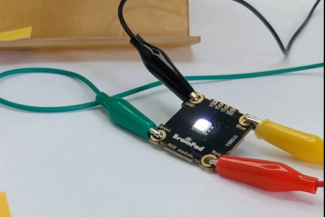
- RGB LEDs
- Light Sensor
- Motion Sensor
- Temperature & Humidity Sensor
Two screws and nuts for each sensor. Make sure to mount screws like the images attached.
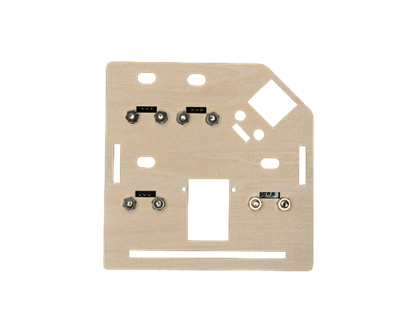
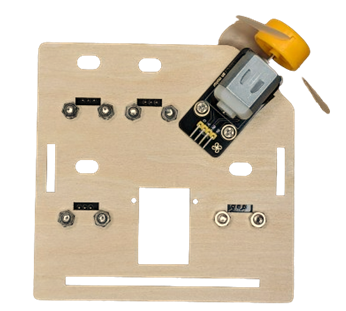
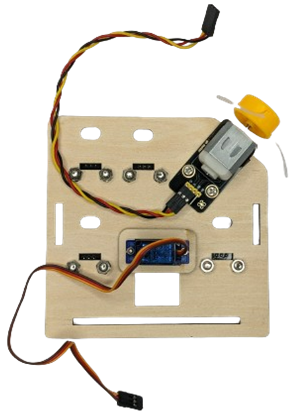
Now, let’s add the servo motor at the back of the home front side, you will need the motor and two screws and nuts.
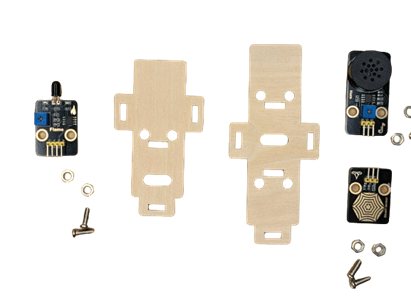
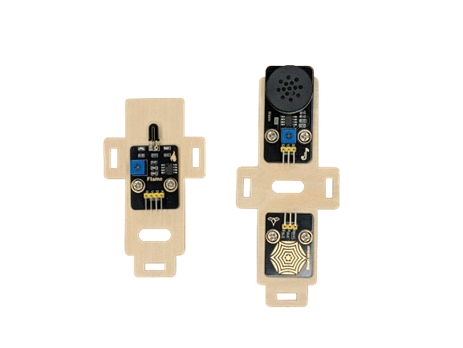
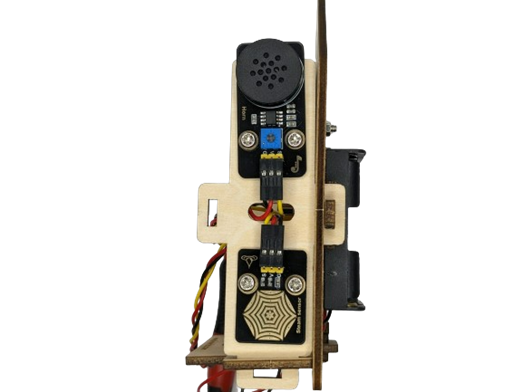
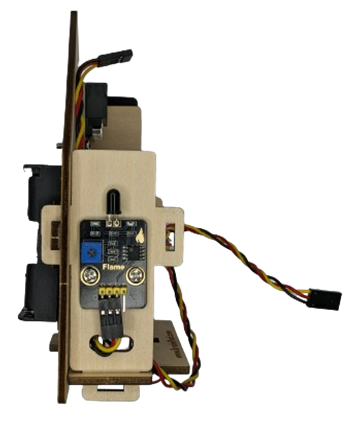
Then, let’s make the two sides of the home, get the two wooden sides parts and the three sensors, each one will need two screws and nuts:
- Alarm Speaker & Steam Sensor, on the side
- Flame Sensor, on the other side
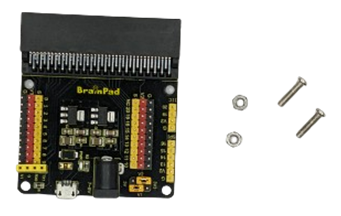
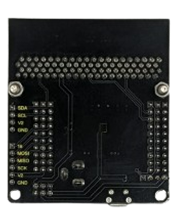
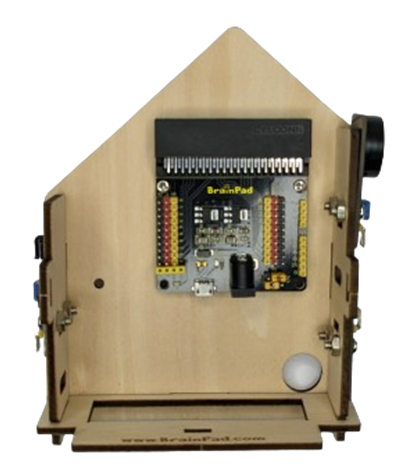
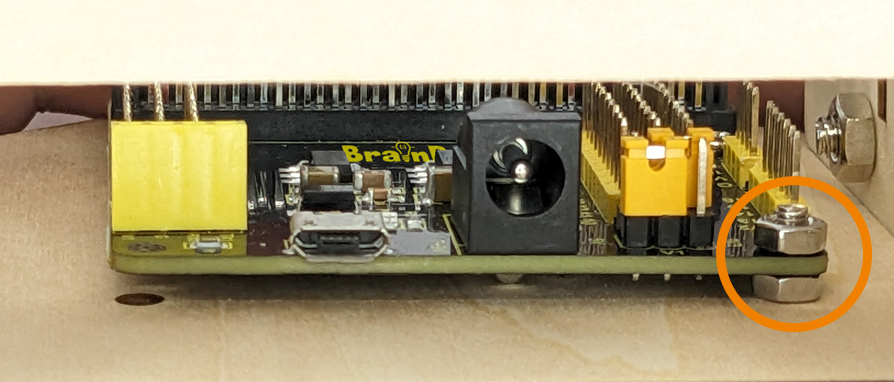
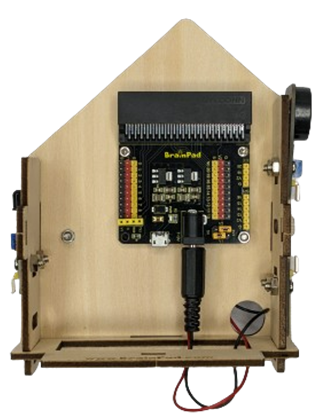
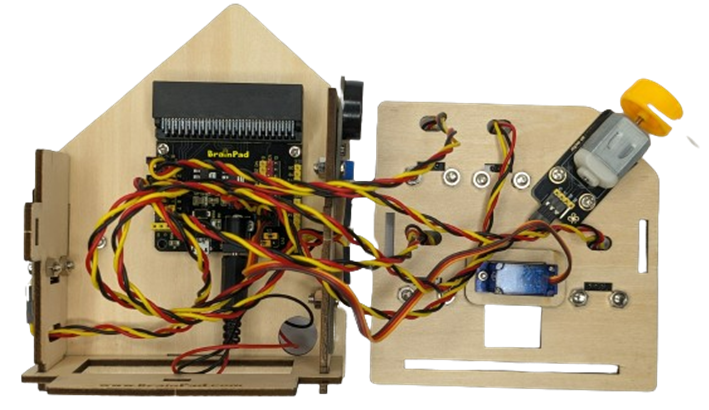
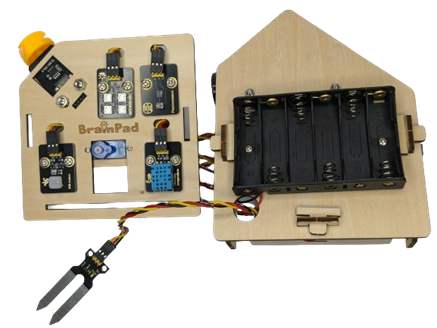
After finishing the two sides and the front, bring your Controller Board and two screws and nuts, we are going to start building the back side of the home.
Important step: you need to add nuts between the controller and the wooden side

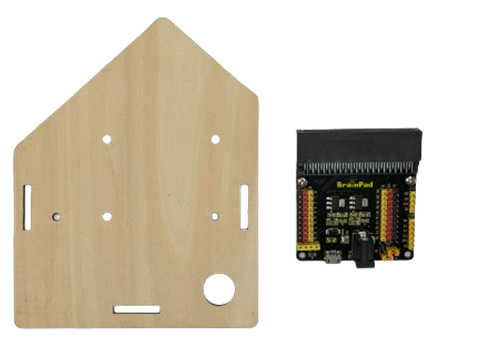
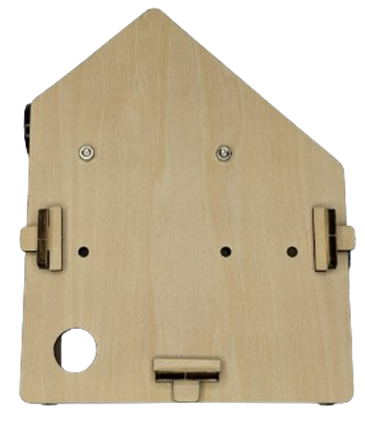
Prepare the wooden back side, two nuts, and the controller board.
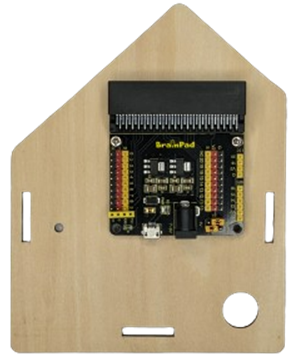
Now, you are going to assemble the two sides with the back side and the bottom
Make sure the closing “T” wood lock is the same as the images so the sides are connected together well.
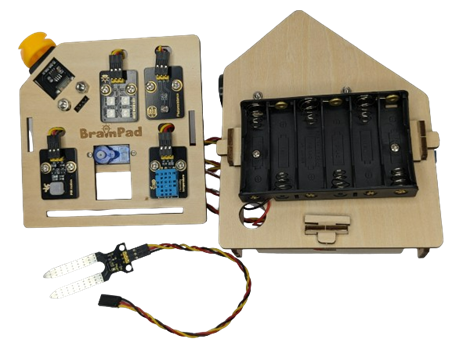
Now, you need to add the Battery Holder on the back of the back side of the home, you will need three nuts and two screws.
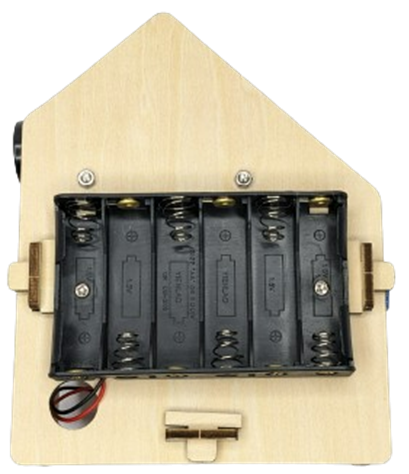
Two nuts will be used with the two screws, and the third one will be added between the controller board and the wood side from inside the home.
And then start plugin the wires:
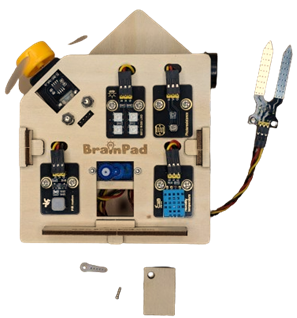
To finish this smart home, you need to add the automatic door. Bring the front side and:
- Servo motor
- Small wooden part
- Two small screws and nuts
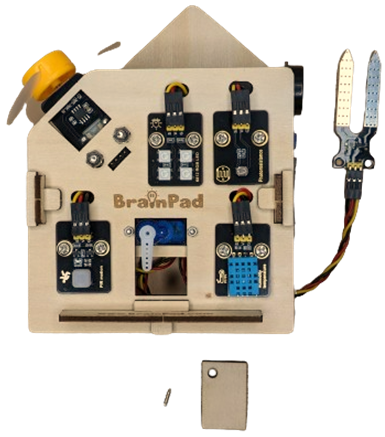
Add the wooden piece and then the motor, then connect all sensors with wires:

Fit the wires inside the spaces up each sensor, and connect it with the controller board, don’t forget the two sides sensors
Make sure to connect the sensors as follows:
| Servo PIN 10 | Fan PIN 11 | RGB LEDs PIN 12 | Horn PIN 13 | PIR PIN 3 |
| Flame PIN 4 | STEAM PIN 5 | Humid PIN 6 | Light PIN 0 | Soil PIN 1 |
Connect the soil sensor from the small circuit in the home back.
Then assemble the front and the rest of the home using the wooden lock.
To Install the door, we need the wooden door, one small screw, and a servo adapter.
Connect the servo adapter with the servo motor, and then put the wooden door and stick it with the screw.

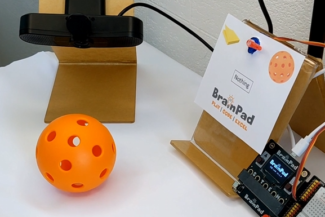
Finally, choose the Brain you want and start your amazing SMART home journey.
Assembly Complete!
What’s Next?
Now that you have an assembled BrainSense, we can get the software ready in one of the IoT lessons for the language of choice, see coding options!.