Automation is the process of using a machine to automatically handle tasks. Machines are precise and can repeat tasks with the same quality. They do not get tired and do not get bored.
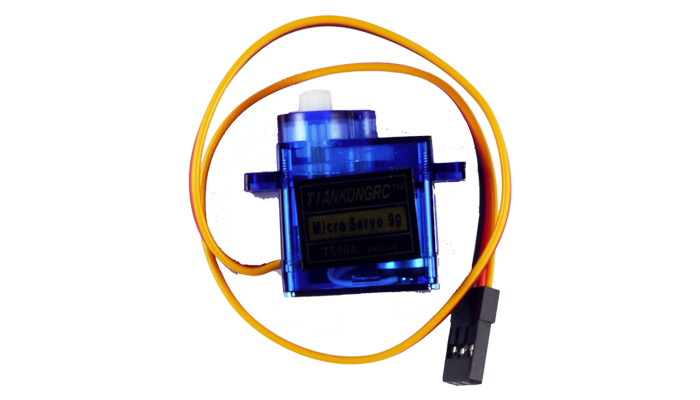
There are many ways to automate a task but this lesson will use RC servo motors.
Prerequisite
Complete the Servo lesson and optionally the I2C bus lesson.
Robotic Arms
This lesson will use a robotic arm that is controlled using positional servo motors. In our example, we will use an arm that is 3DoF (degree of freedom). This means that the arm has three joints. However, since the middle joint needs more power, it uses two servos. These 2 servos need to be connected together to the same signal or they must always be set to the same position.
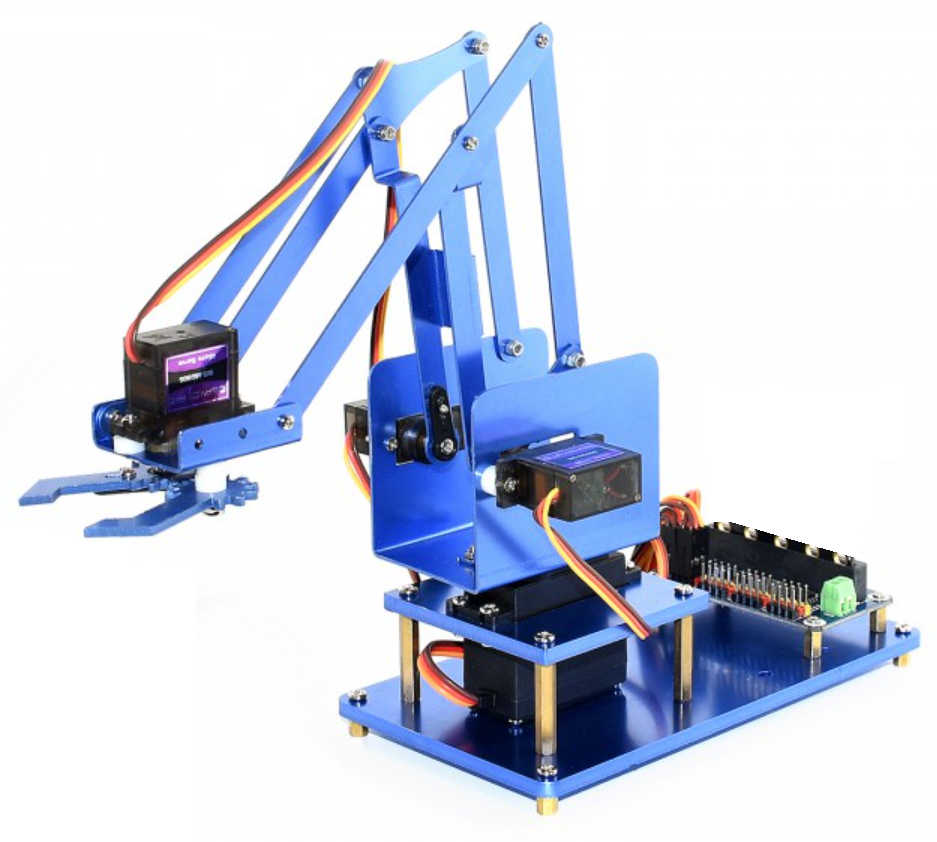
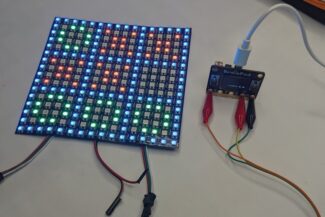
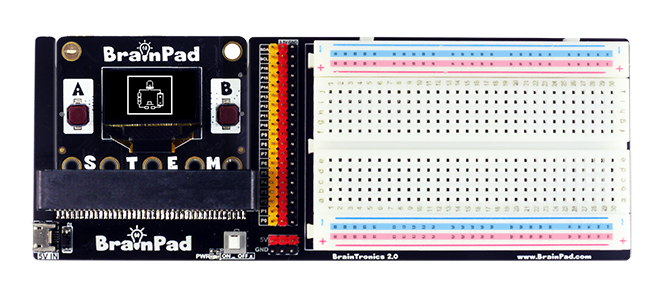
Connecting servos to the BrainPad can be done with alligator clips when connecting one or two servos. When connecting more servos, a breakout board is easier to use. BrainTronics board breaks out all the signals on servo-compatible headers.
Controlling servos is easy as we learned about in the servo lesson.
await BrainPad.ServoMoto.Set(1, 90);For the sake of demonstration, buttons A and B will be used to move the arm up and down.
while (true) {
    var a = await BrainPad.Button.WasPressed(BrainPad.Pin.ButtonA);
    if (a == true) {
        await BrainPad.ServoMoto.Set(1, 90);
    }
    var b = await BrainPad.Button.WasPressed(BrainPad.Pin.ButtonB);
    if (b == true) {
        await BrainPad.ServoMoto.Set(1, 0);
    }
}
The buttons were used as inputs to control the servos. Another option is to build a graphical application on the PC with knobs, buttons, and other elements to control the servos.
Servo Controllers
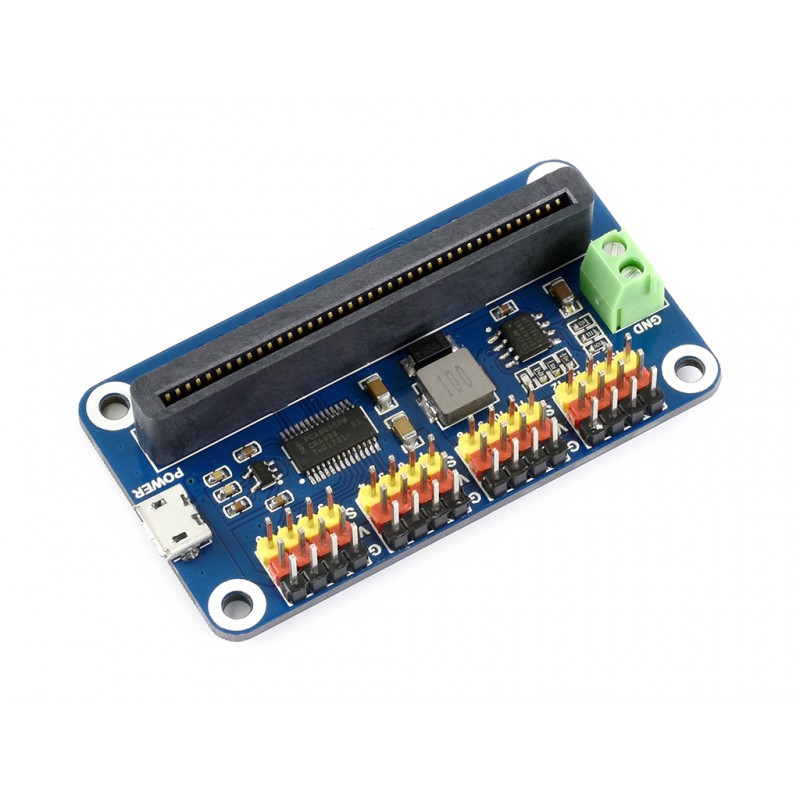
It is common to use Servo controller chips. These electronic chips receive commands to control several servos. Instead of using the servo command, the chip is commanded using one of the buses, usually the I2C bus.
The controller board in this example uses PCA9685. This chip is used for controlling the LED brightness controller; however, the chip can be configured to output the 50Hz signal needed by the servos.
The init function has the code needed to configure the controller.
void PCA9685Init(){
    BrainPad.I2c.Write(0x40,new byte[]{0,0});
    BrainPad.System.Wait(5);
    BrainPad.I2c.Write(0x40,new byte[]{0,0x10});
    BrainPad.I2c.Write(0x40,new byte[]{0xFE, (byte)(25000000/4096/50-1)});
    BrainPad.I2c.Write(0x40,new byte[]{0,0});
    BrainPad.System.Wait(5);
    BrainPad.I2c.Write(0x40,new byte[]{0,0xa1});
}
Up to 16 servos can be configured individually.
void PCA9685Servo(byte channel,byte degree){
    if (channel < 0 || channel > 15)
        return;
    var v_us = (degree * 1800 / 180 + 600);
    var value = v_us * 4096 / 20000;
    var buf = new byte[5];
    buf[0] = (byte)(0x06 + 4 * channel);
    buf[1] = 0;
    buf[2] = 0;
    buf[3] = (byte)(value & 0xff);
    buf[4] = (byte)((value >> 8) & 0xff);
    BrainPad.I2c.Write(0x40,buf);
}
Machinery
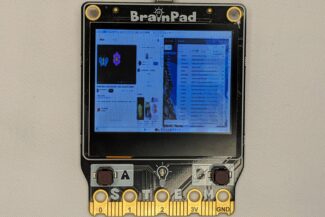
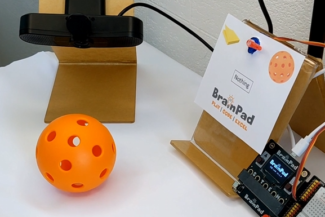
This demo builds a simple machine to control a game called space-force. Here is a video showing the game and the solution using MakeCode. We will do the same but using Python and C#.
This can be taken to a whole new level by creating a PC application that has a calibration feature.
BrainStorm
How far can automation go? With AI advancements, we have seen automation clash with thinking and decision making. Would you adopt a bionic Puppy?