BrainGamer Assembly
Prerequisite
This lesson assumes you already have your own BrainGamer that needs to be assembled. If your BrainGamer is already assembled, you can jump right into the BrainGamer lessons, after choosing the language you prefer, see coding options!.
Assembly
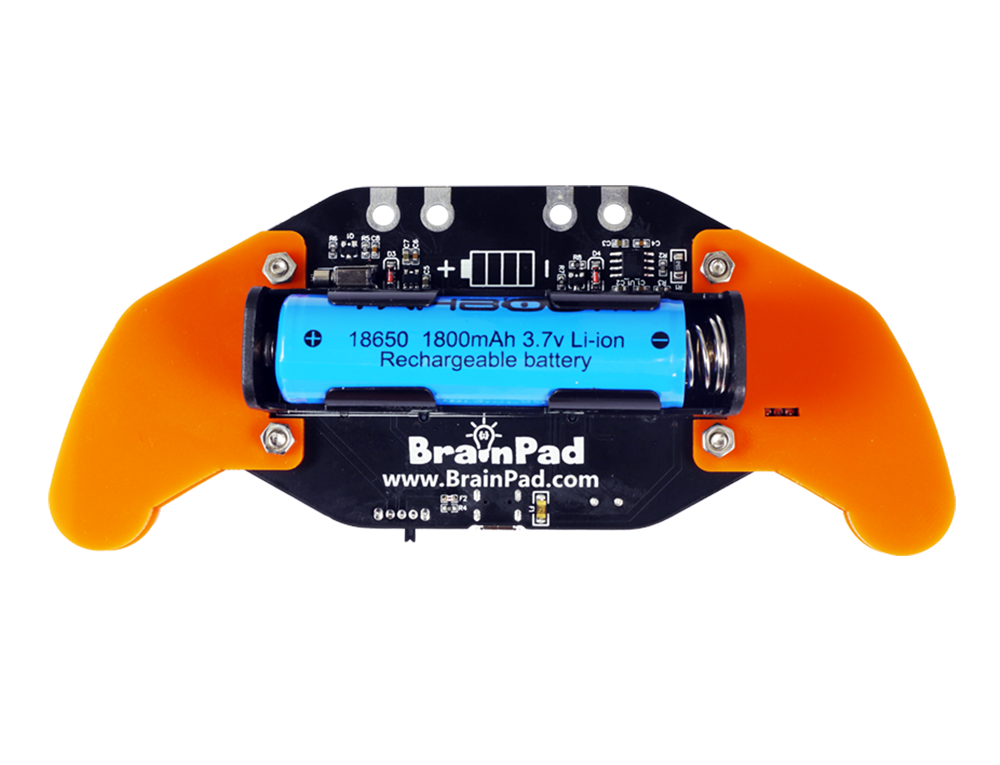
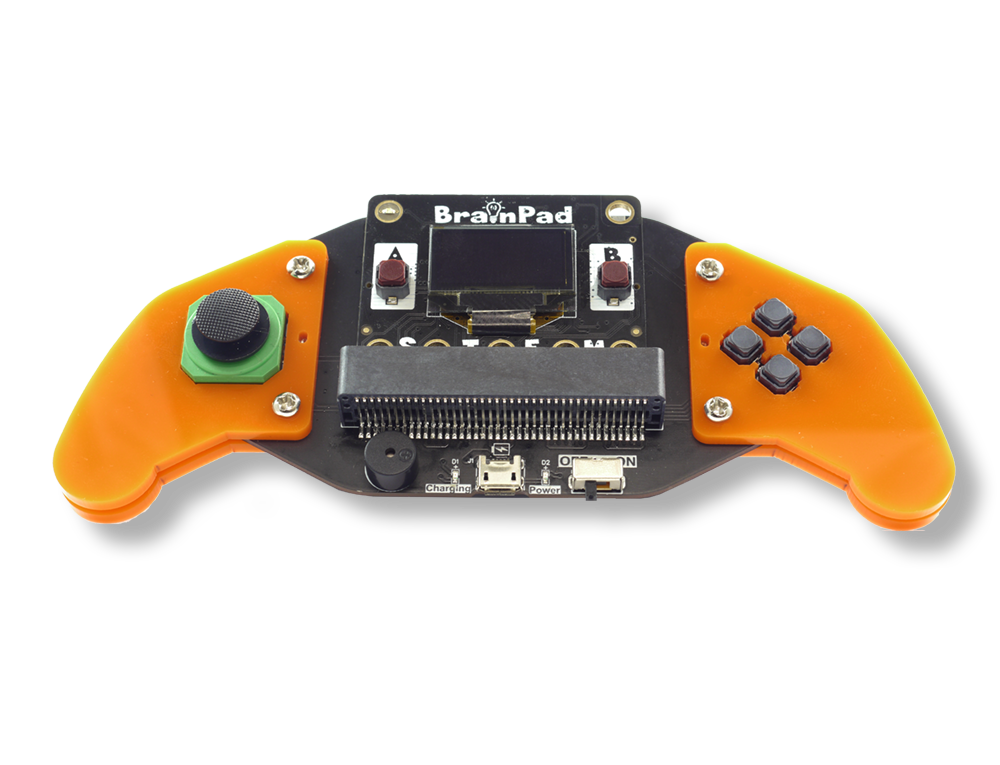
The BrainGamer is pretty easy to assemble! In fact, the only thing we need to do is attach the included acrylic handles with the included nuts and screws.
Battery
Finally, snap in the rechargeable battery. Make sure to match the positive side of the BrainGamer to the positive side of the battery. A Li-Po battery is used, so make sure to carefully read the Safety page to fully understand how to properly use them.
Assembly Complete
Making it Your Own!
Let your inner artist out and give the BrainGamer any shape you like using cardboard, wood, acrylic, or even try 3D printing one. How about a steering wheel, or perhaps customize the color using one of these materials?
We provide you with a 2D template and a 3D model to get you started. Note that the 3D STEP file will only open using the required software, and try to right-click and save link as if you experience an issue with just clicking download.
Charging the BrainGamer
Plug a micro-USB into the BrainGamer (you can use the one that came with your BrainPad). Ensure that the battery is fully inserted into the battery holder. The Charge LED will illuminate. The battery will be fully charged when the Charge LED turns off. The battery that is included is a Li-Po battery and requires special care. Please read the Safety Page carefully.
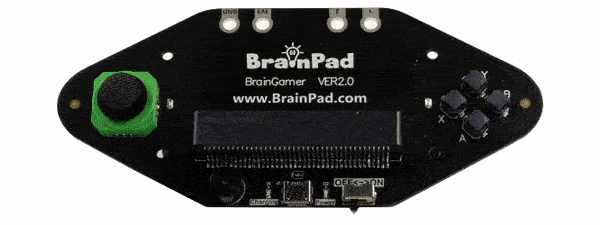
BrainGamer Pinout
The BrainGamer components connect to the BrainPad through the edge connector.

What’s Next?
Now that you’ve assembled the BrainGamer, we can go to the BrainGamer lessons.