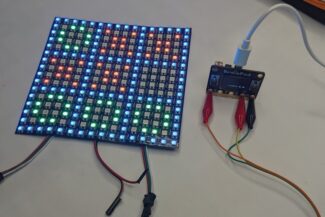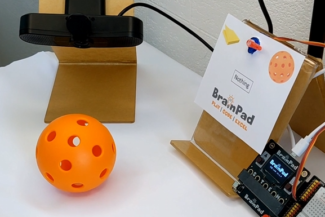
BrainTronics Intro
This lesson is an intro to circuits and physical computing. The BrainTronics shows how to connect electronic components using a breadboard.
Prerequisite
You must have completed some of the coding basic lessons and understand coding concepts like Variables, Loops, and Functions. And also have some understanding of the Input -> Process -> Output concept.
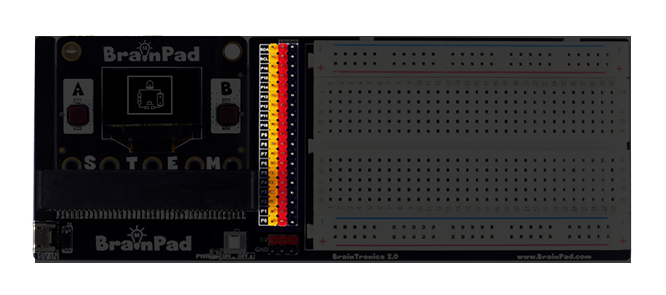
Breadboards
A breadboard is a plastic block with holes that are spaced out 0.1 inches apart. Internally, these holes have metal sockets that create a connection to the electronic components that are plugged in.
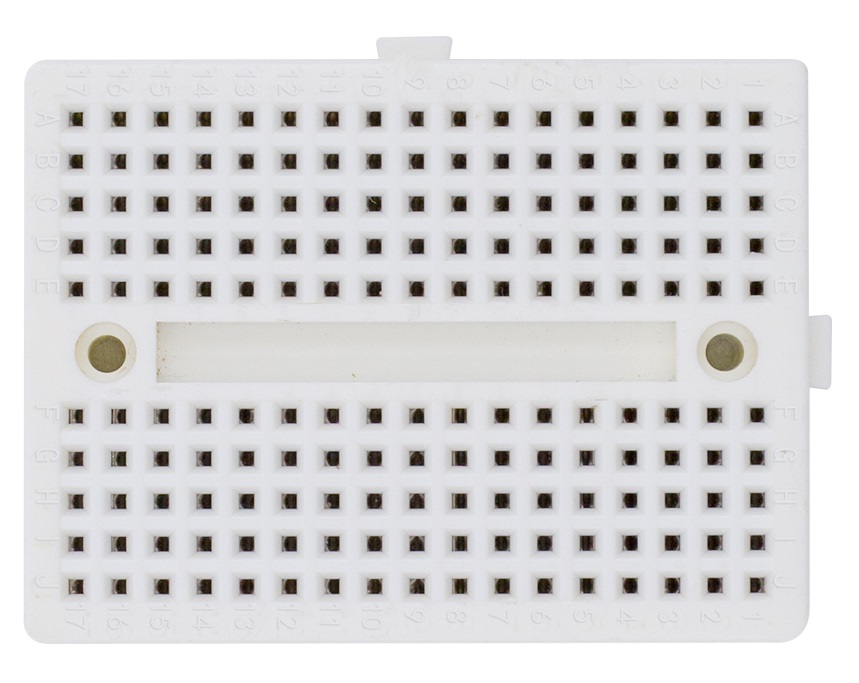
Each column of five holes are connected together internally, but this group is not connected to anything else. Not even the row next to it. In the image below the top side is orange and bottom is grey to show that these two sides are not connected to each other either.
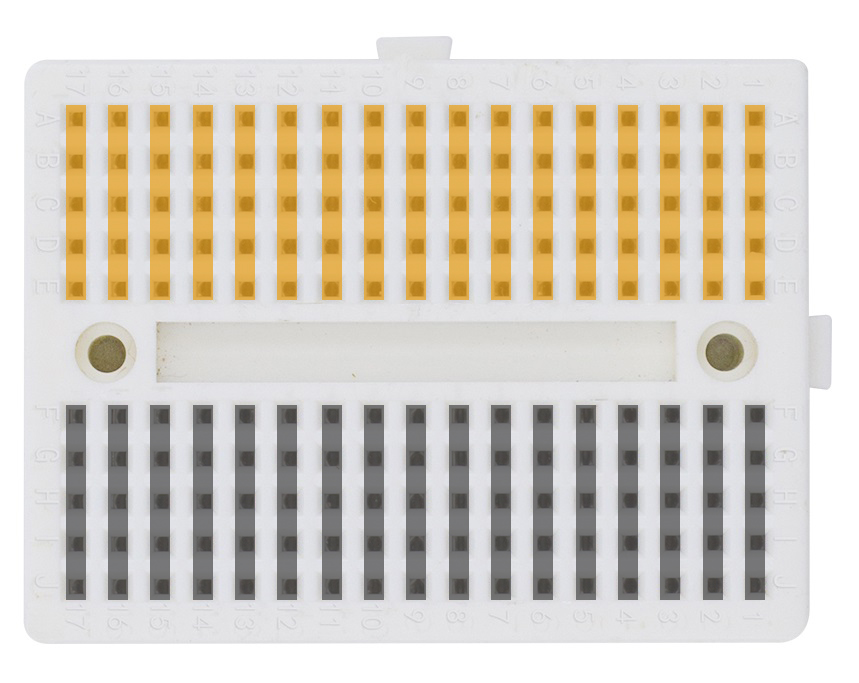
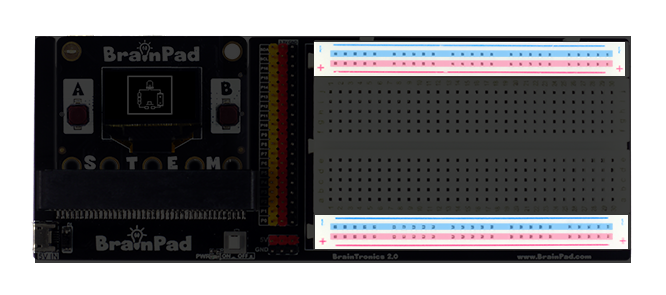
Larger breadboards may also have additional rows on top and bottom, just like the one found on the BrainTronics base board.
The two rows have groups of 5 holes. These are different as they are all connected together on the entire row. This is typically used for power signal connections. This explains the blue and red lines.
The middle pin header consists of 3 columns:
- Orange -> Signal
- Red – > 3V
- Black -> Ground
It is a good practice to connect ground and power to the 2 rows as intended. Those can come from the middle pin header.
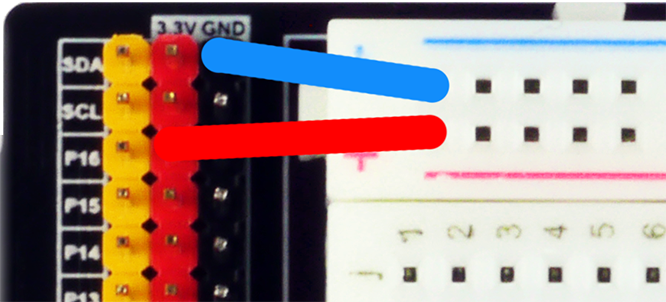
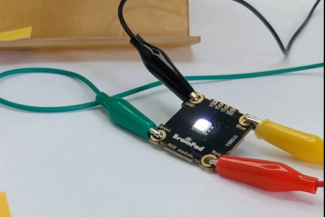
The middle pin header is an easy way to access the signals coming from the BrainPad.

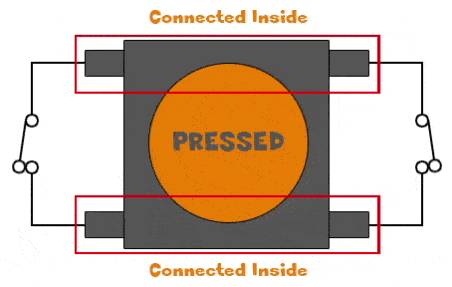
A button, for example, can be connected to P0. The second pin from the button can go to ground. Note how even though the button has 4 pins, they are just 2 signals internally.
The internal connections of the breadboard can be used to connect components to each other. Let’s add an LED with its needed current limiting resistor between pin 0 and ground.
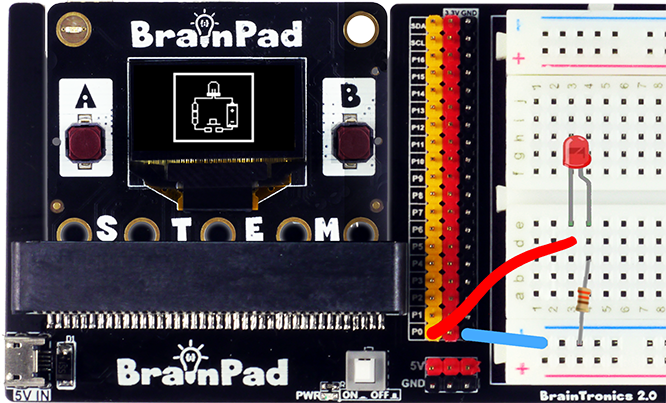
The LED can now be controlled using pin 0.
What’s Next?
Start adding/building other components and use what you have learned in the Physical Computing lessons.
BrainStorm
What might be the history behind breadboards? Solder-less circuit is appreciated for quick prototyping and is used by millions of engineers and makers around the world. They are also as useful for schools and education.