Arcade v1 to v2 Upgrade
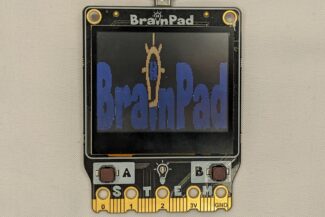
Our beloved BrainPad Arcade v1 has a new look, welcome to BrainPad Arcade v2.
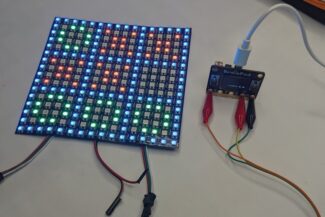
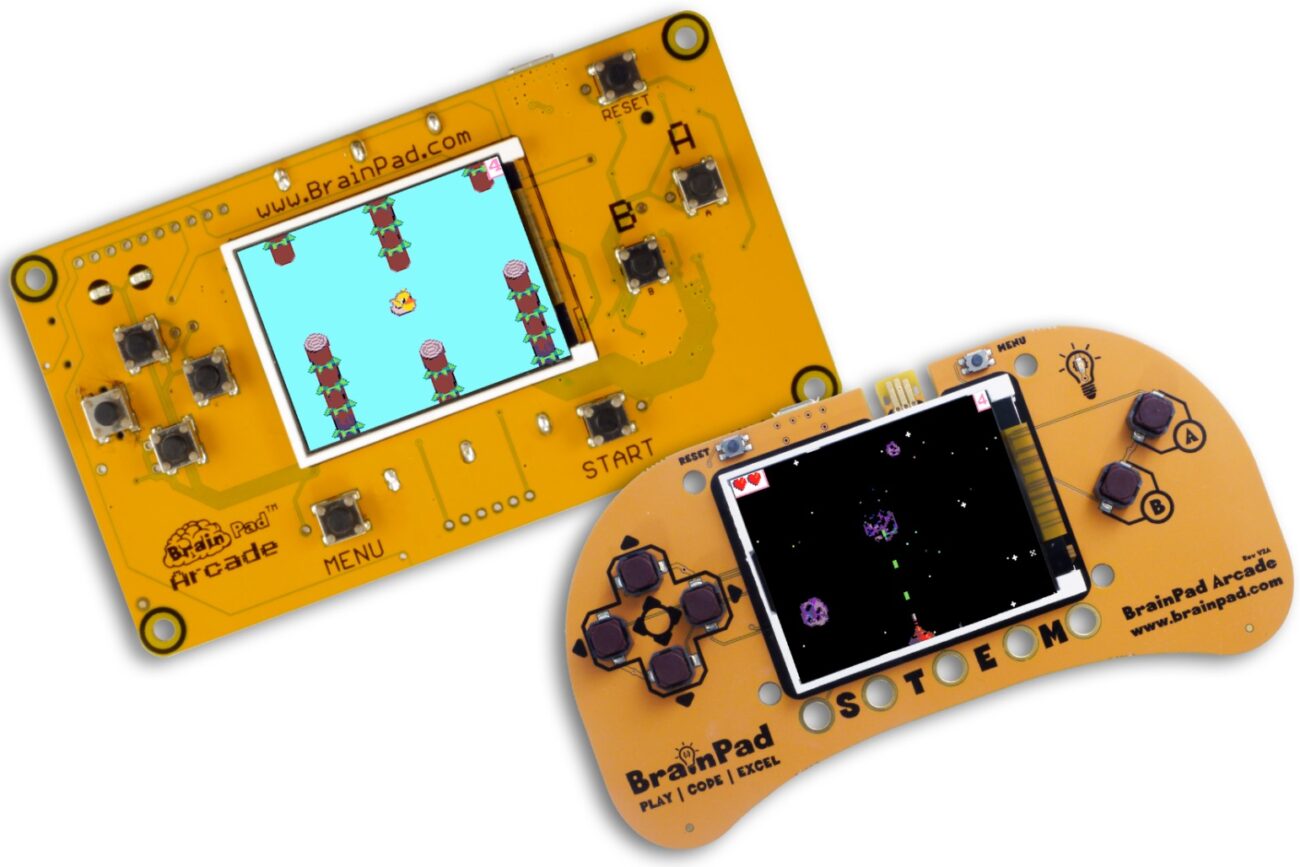
Legacy Arcade v1
Get Started By Connecting the BrainPad Arcade
To get going with the BrainPad Arcade, let’s try programming it to show a pizza sprite on the screen. Go ahead and plug the BrainPad Arcade into your computer and follow the steps below.
Next Build the Program
Go to https://arcade.makecode.com/ and click on start a new project (where the large plus sign is).
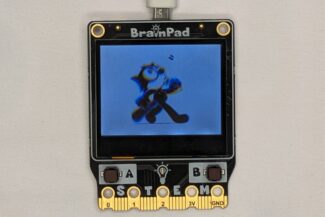
Then, click on Sprites and then drag the Set sprite block to the green “on start” block on the main screen. Change the sprite to whatever you like from the gallery or draw your own.
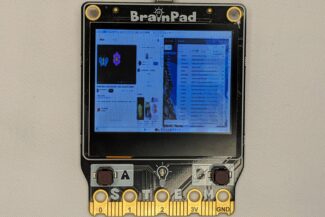
If the simulator is not “playing”, click the play button and now you will see the sprite you added in the middle of the simulator’s screen.
Prepare the BrainPad
After you connected the BrainPad Arcade earlier, your PC should have detected a new drive, called “ARCADE-F4”. If it didn’t, press reset on the board and then it will. Every time you press reset the board will cycle between the mode to load files, if connected to a PC.
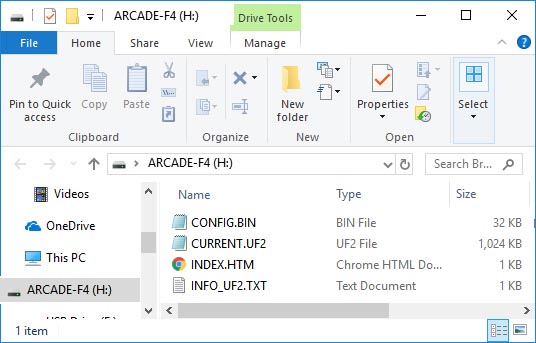
Download the Program
Click download and save the file on the “ARCADE-F4” drive. The Green light will flash for a moment and the BrainPad will make the same sound you heard on the computer earlier. If you are using the Chrome browser, it is possible to sync the board so the file will download automatically to your board.
If you are using the Chrome browser, you may get prompted to sync your device. This will allow to you to download the file directly onto the device.
Lesson Plans
The MakeCode Arcade platform already include several lessons and examples, but we also have our own!
2D Adventure
You only get 30 seconds to find the hamburger!
The lessons are power point presentation, include animations.

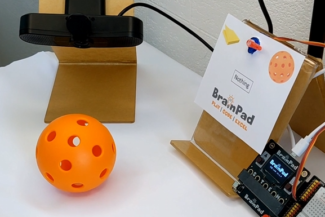
Space Shooter
Shoot them all!
The lessons include presentations, PDFs and videos.
Buy Now
Our online distributors are ready to help with your order.